Nordic Outdoor
Design Panel
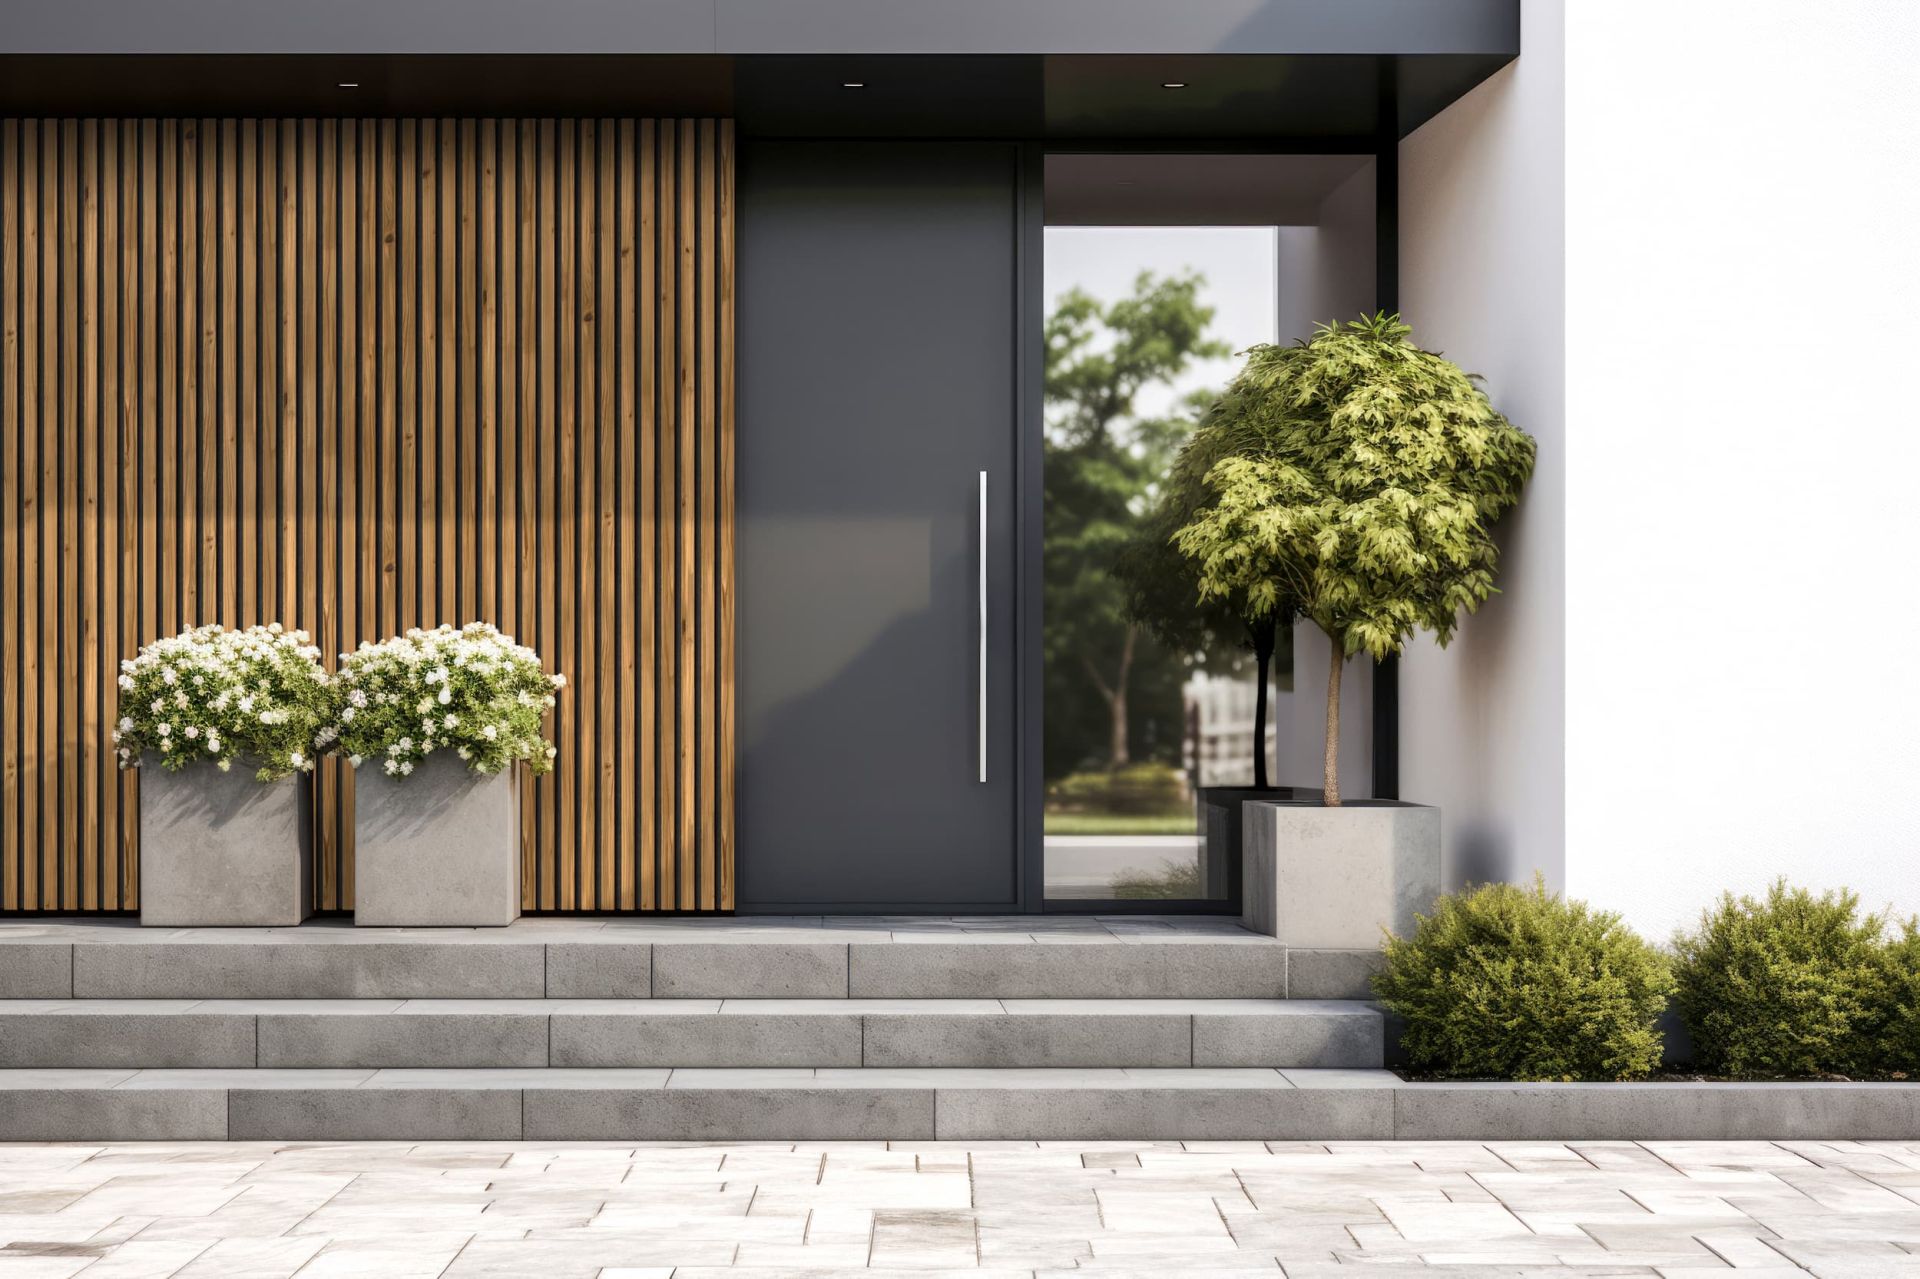
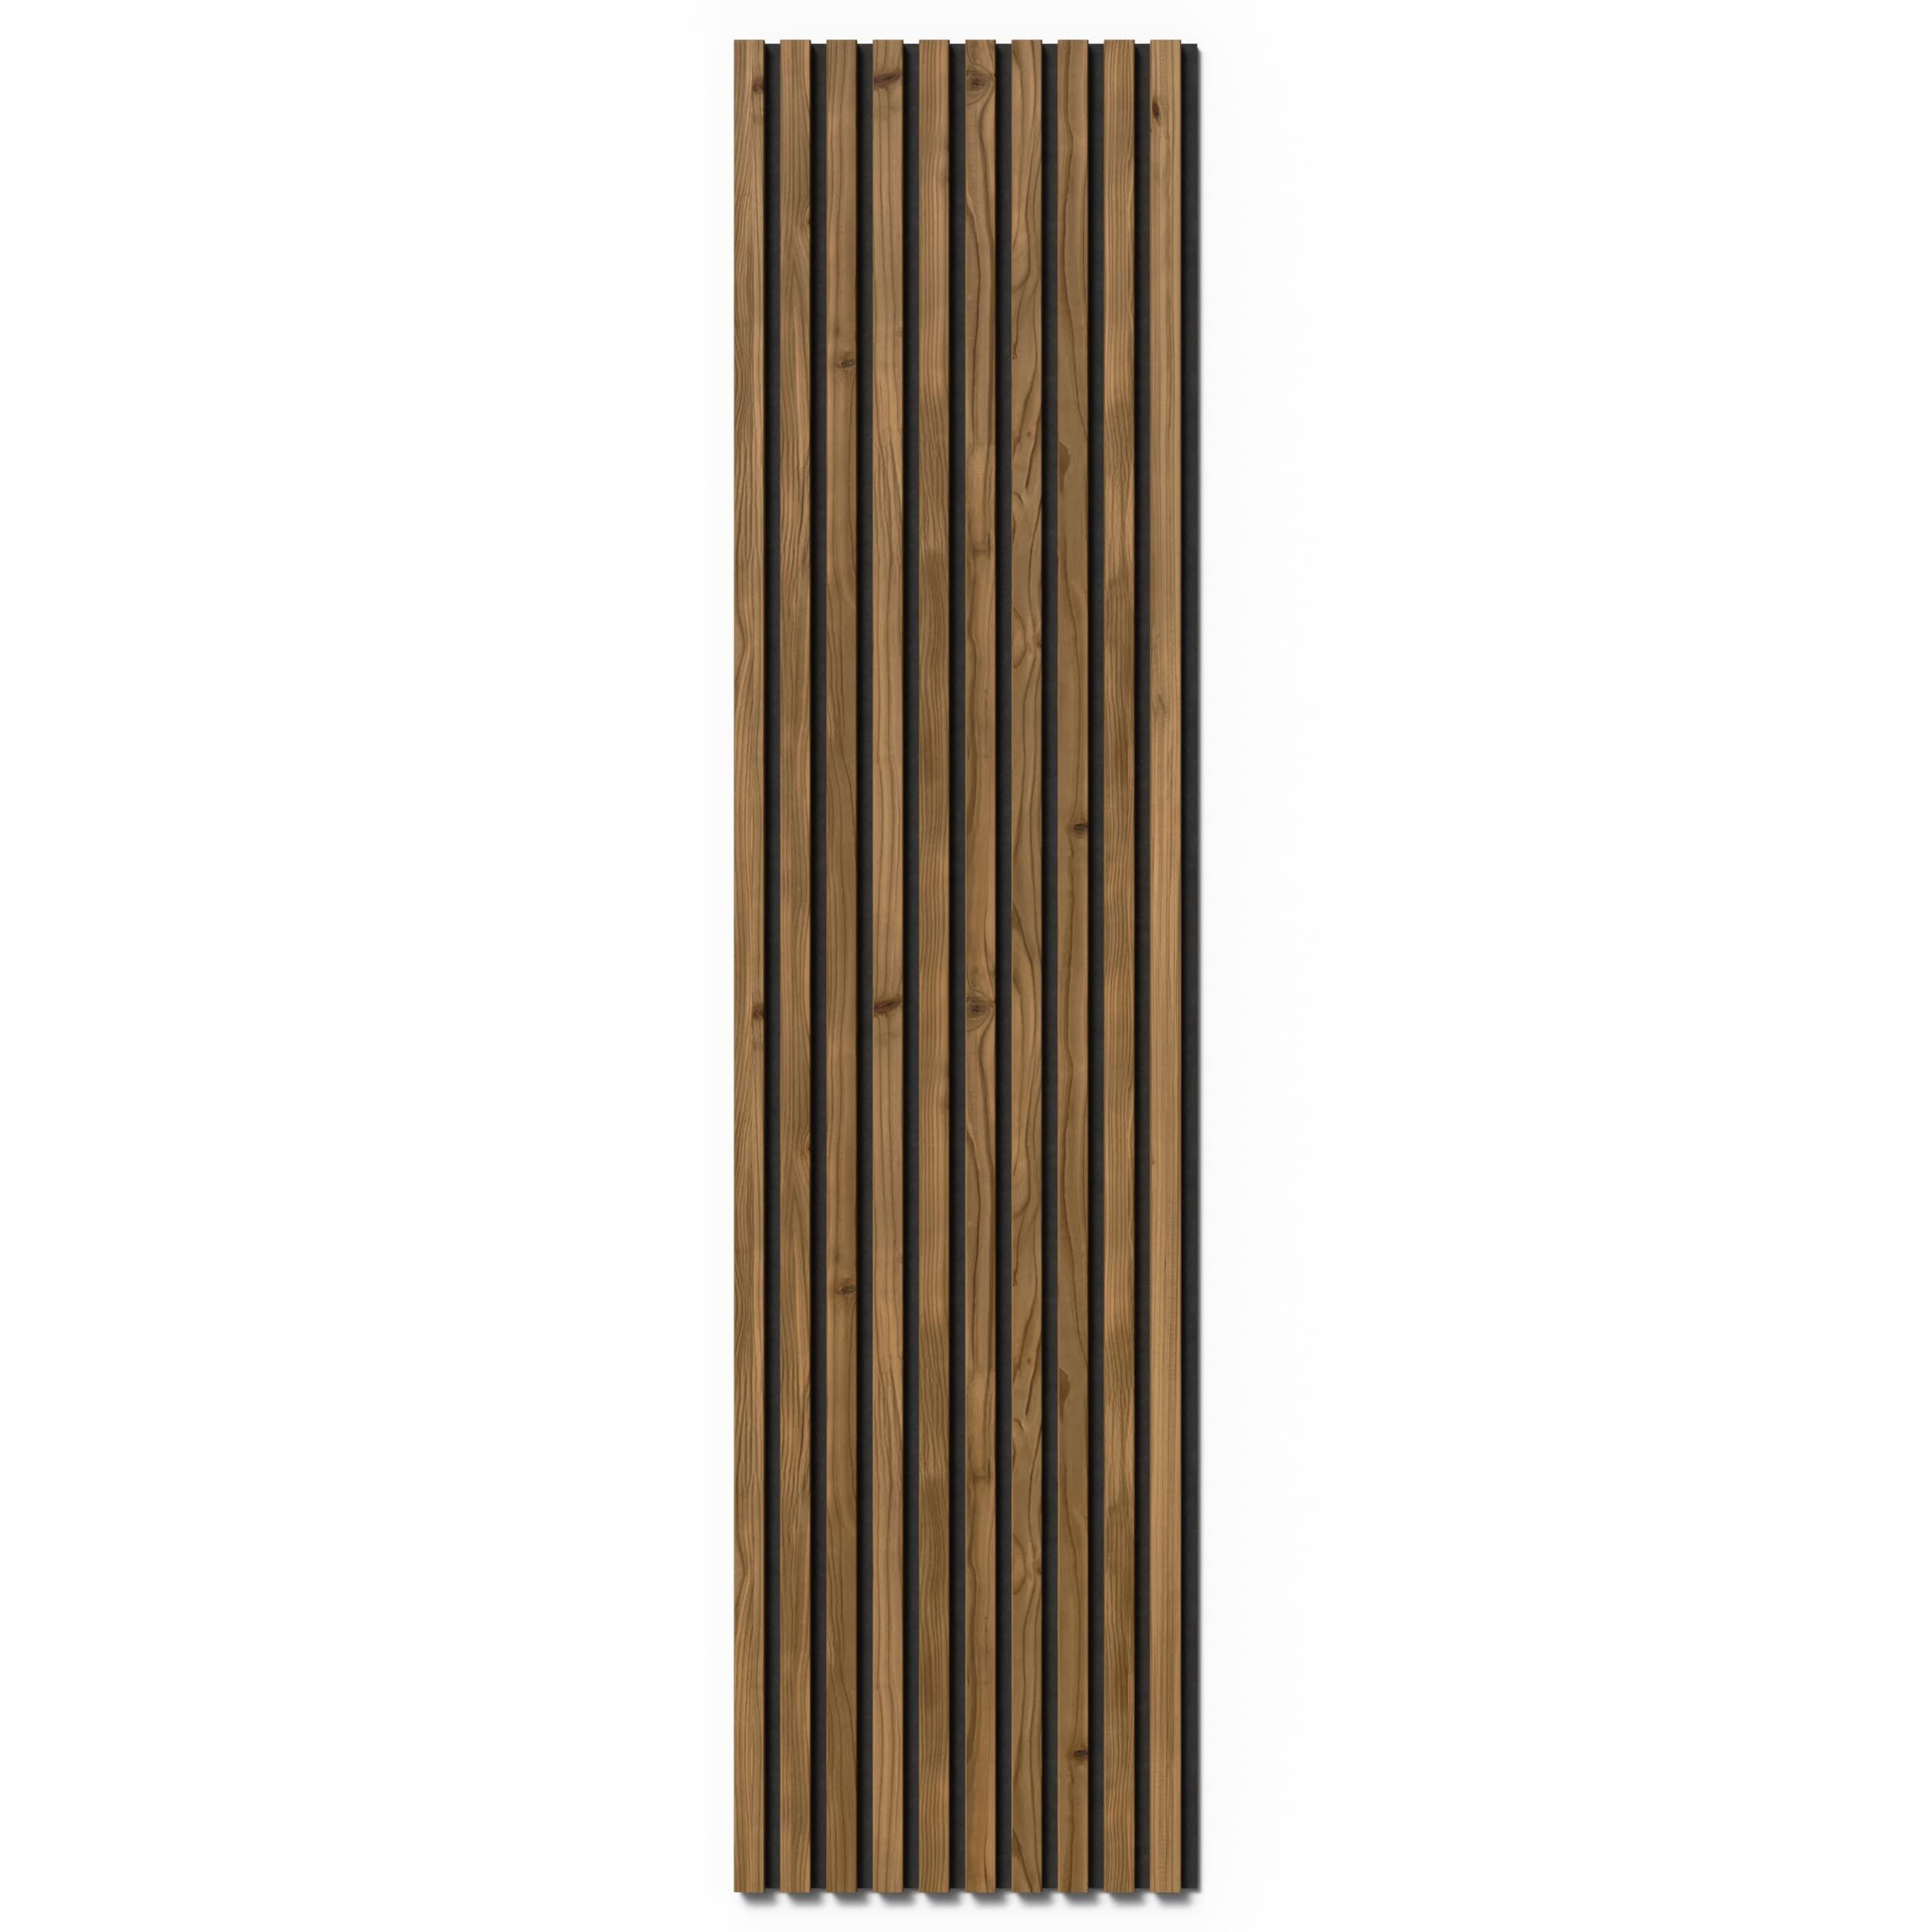
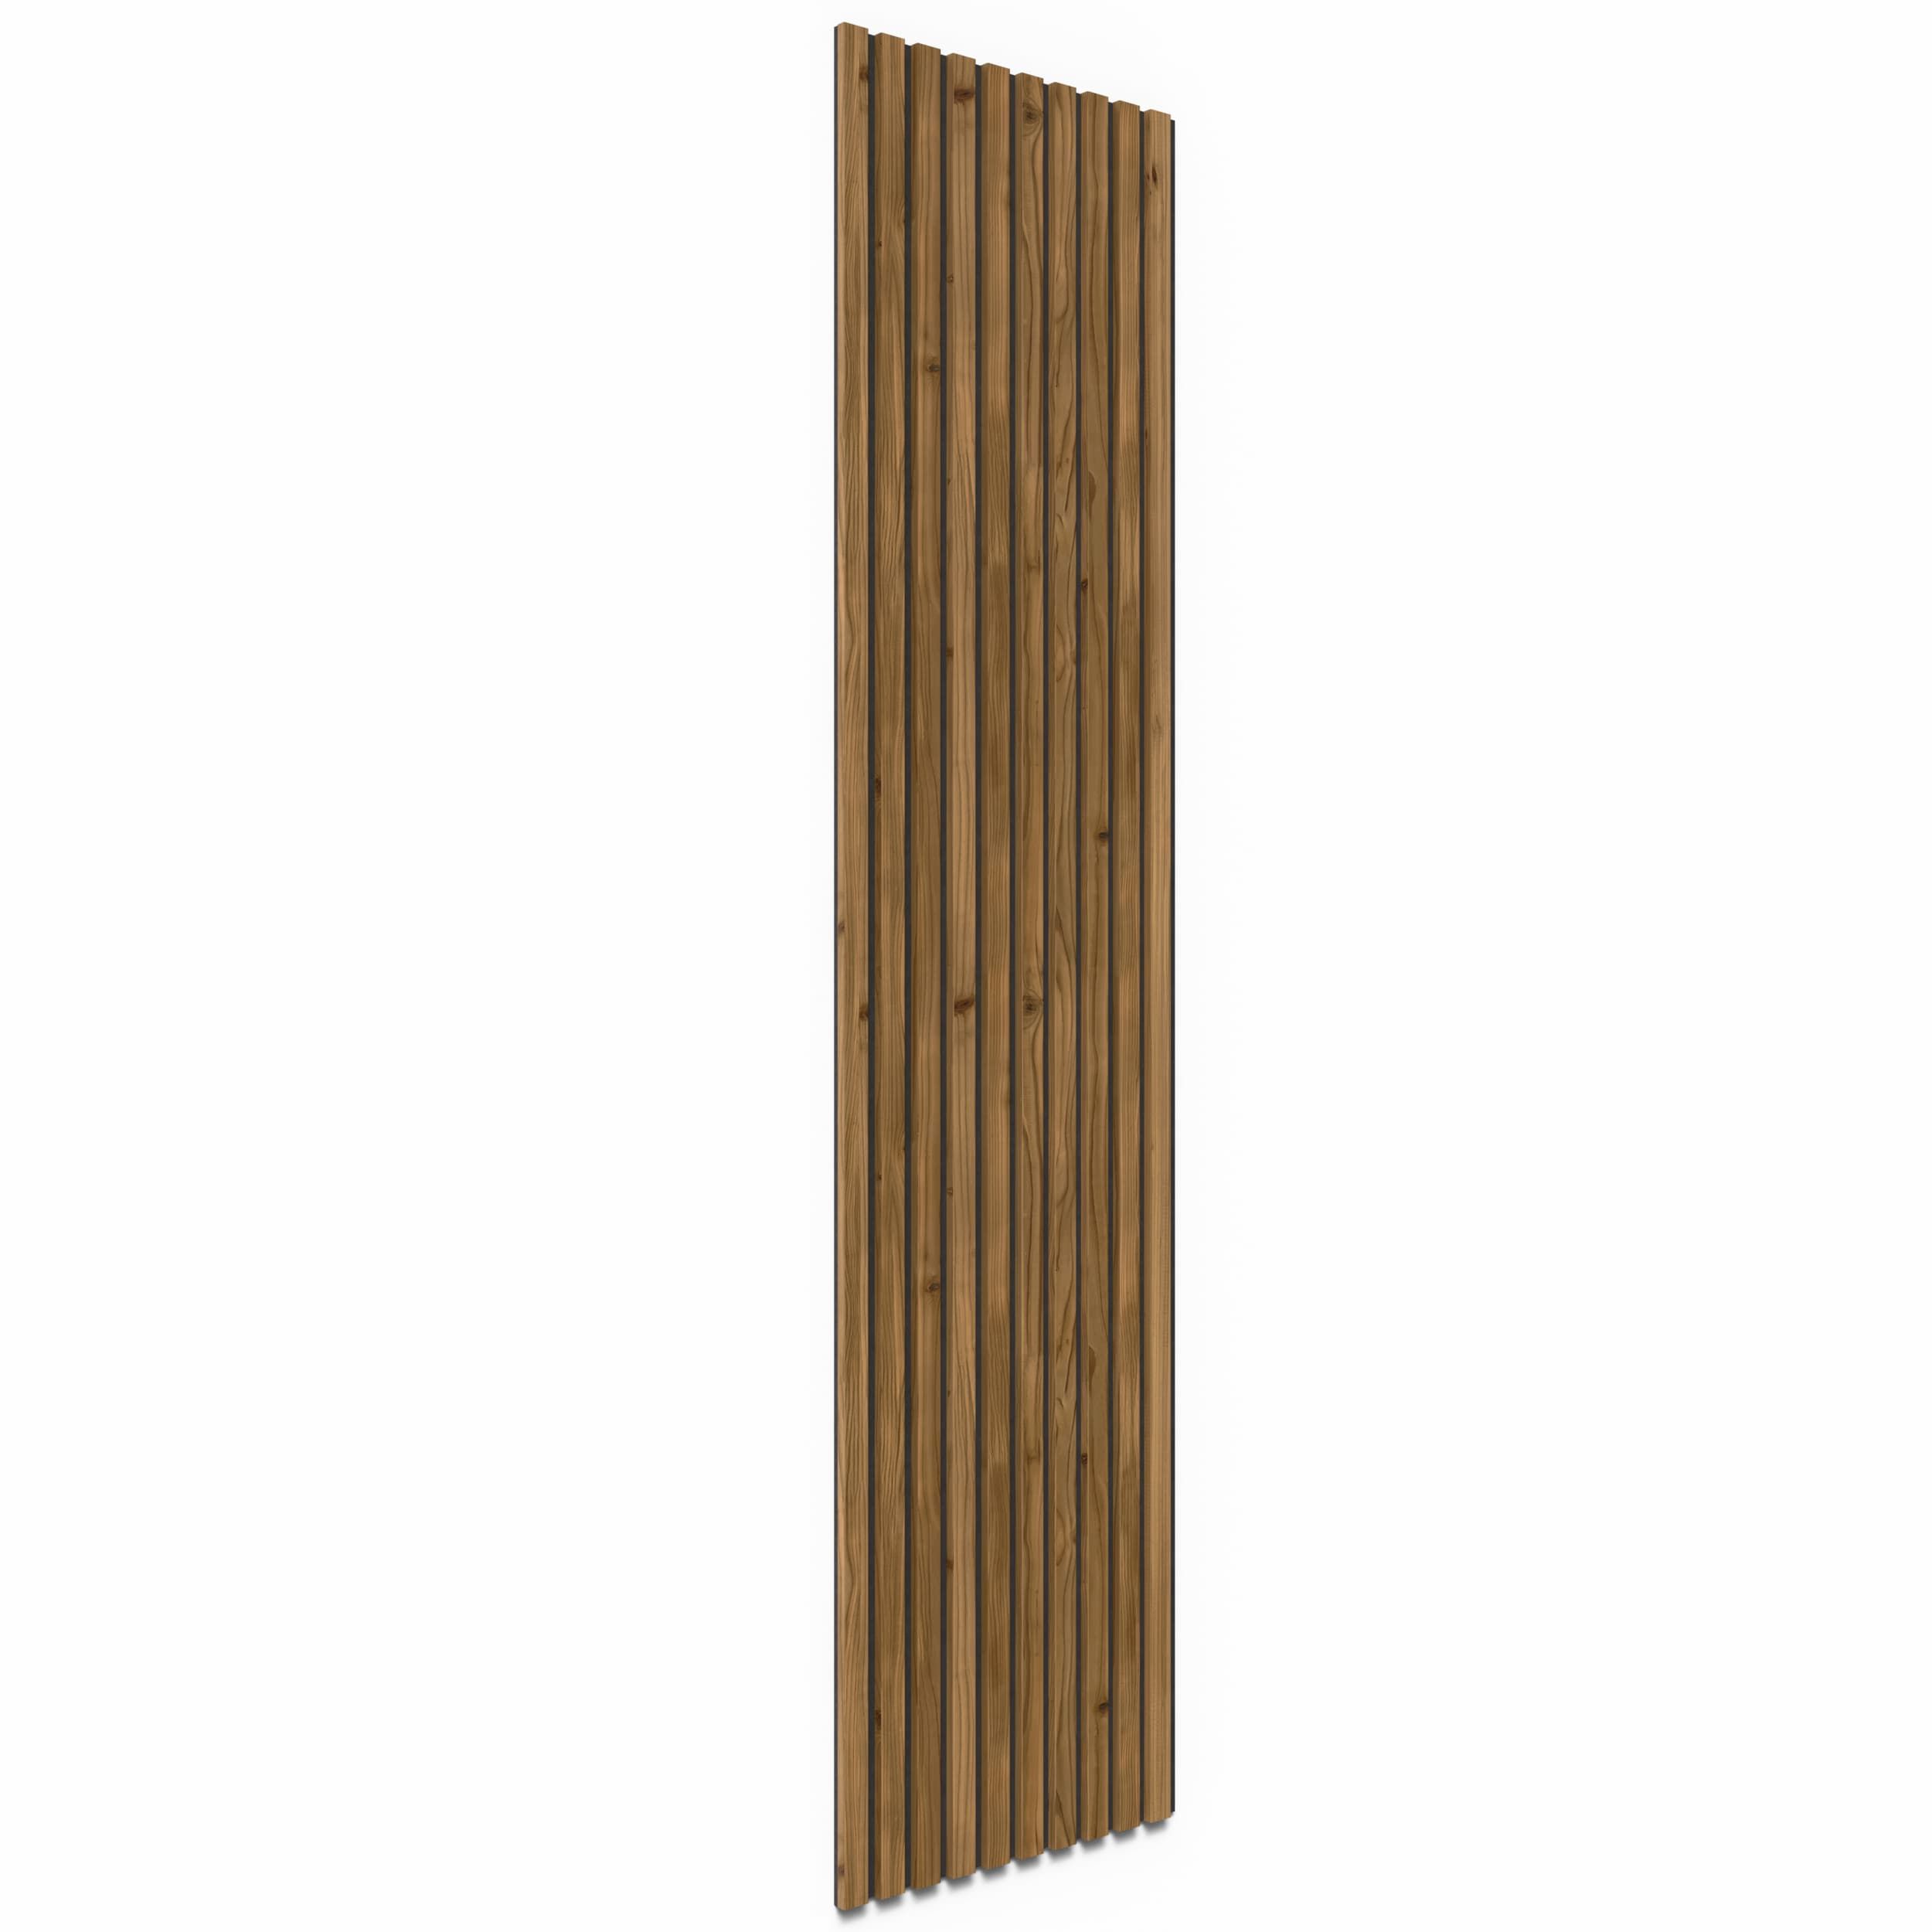
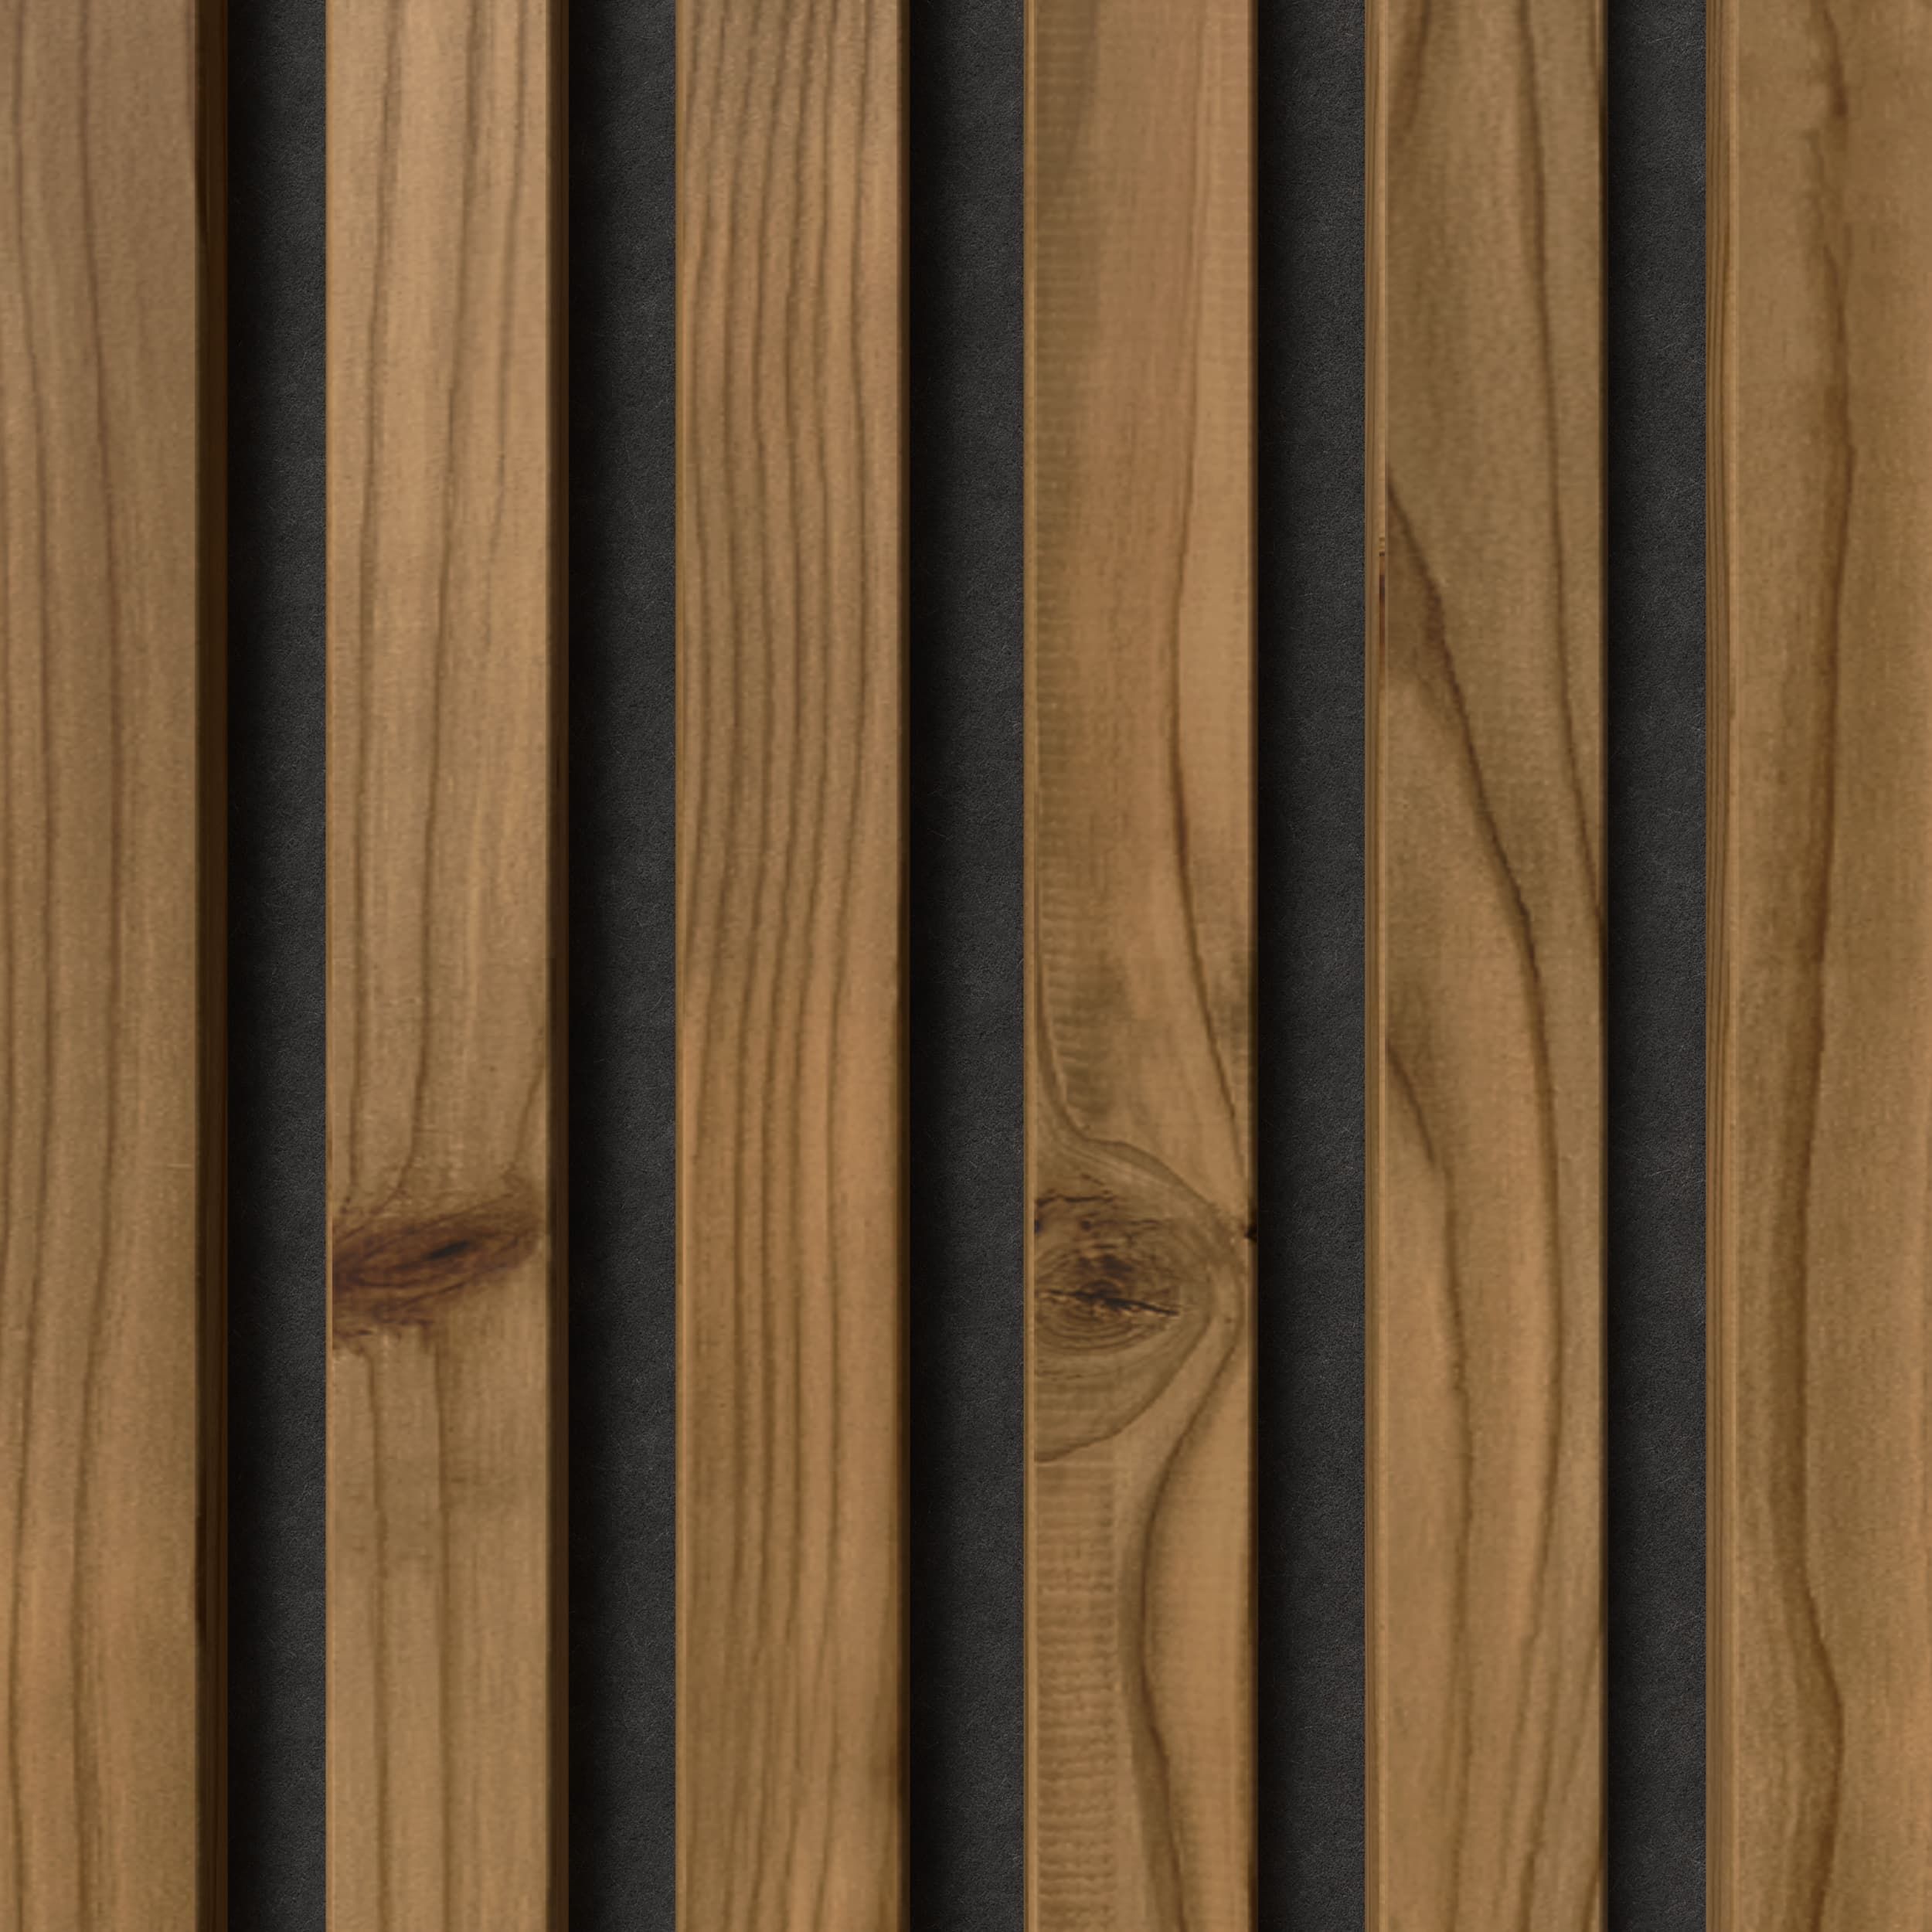
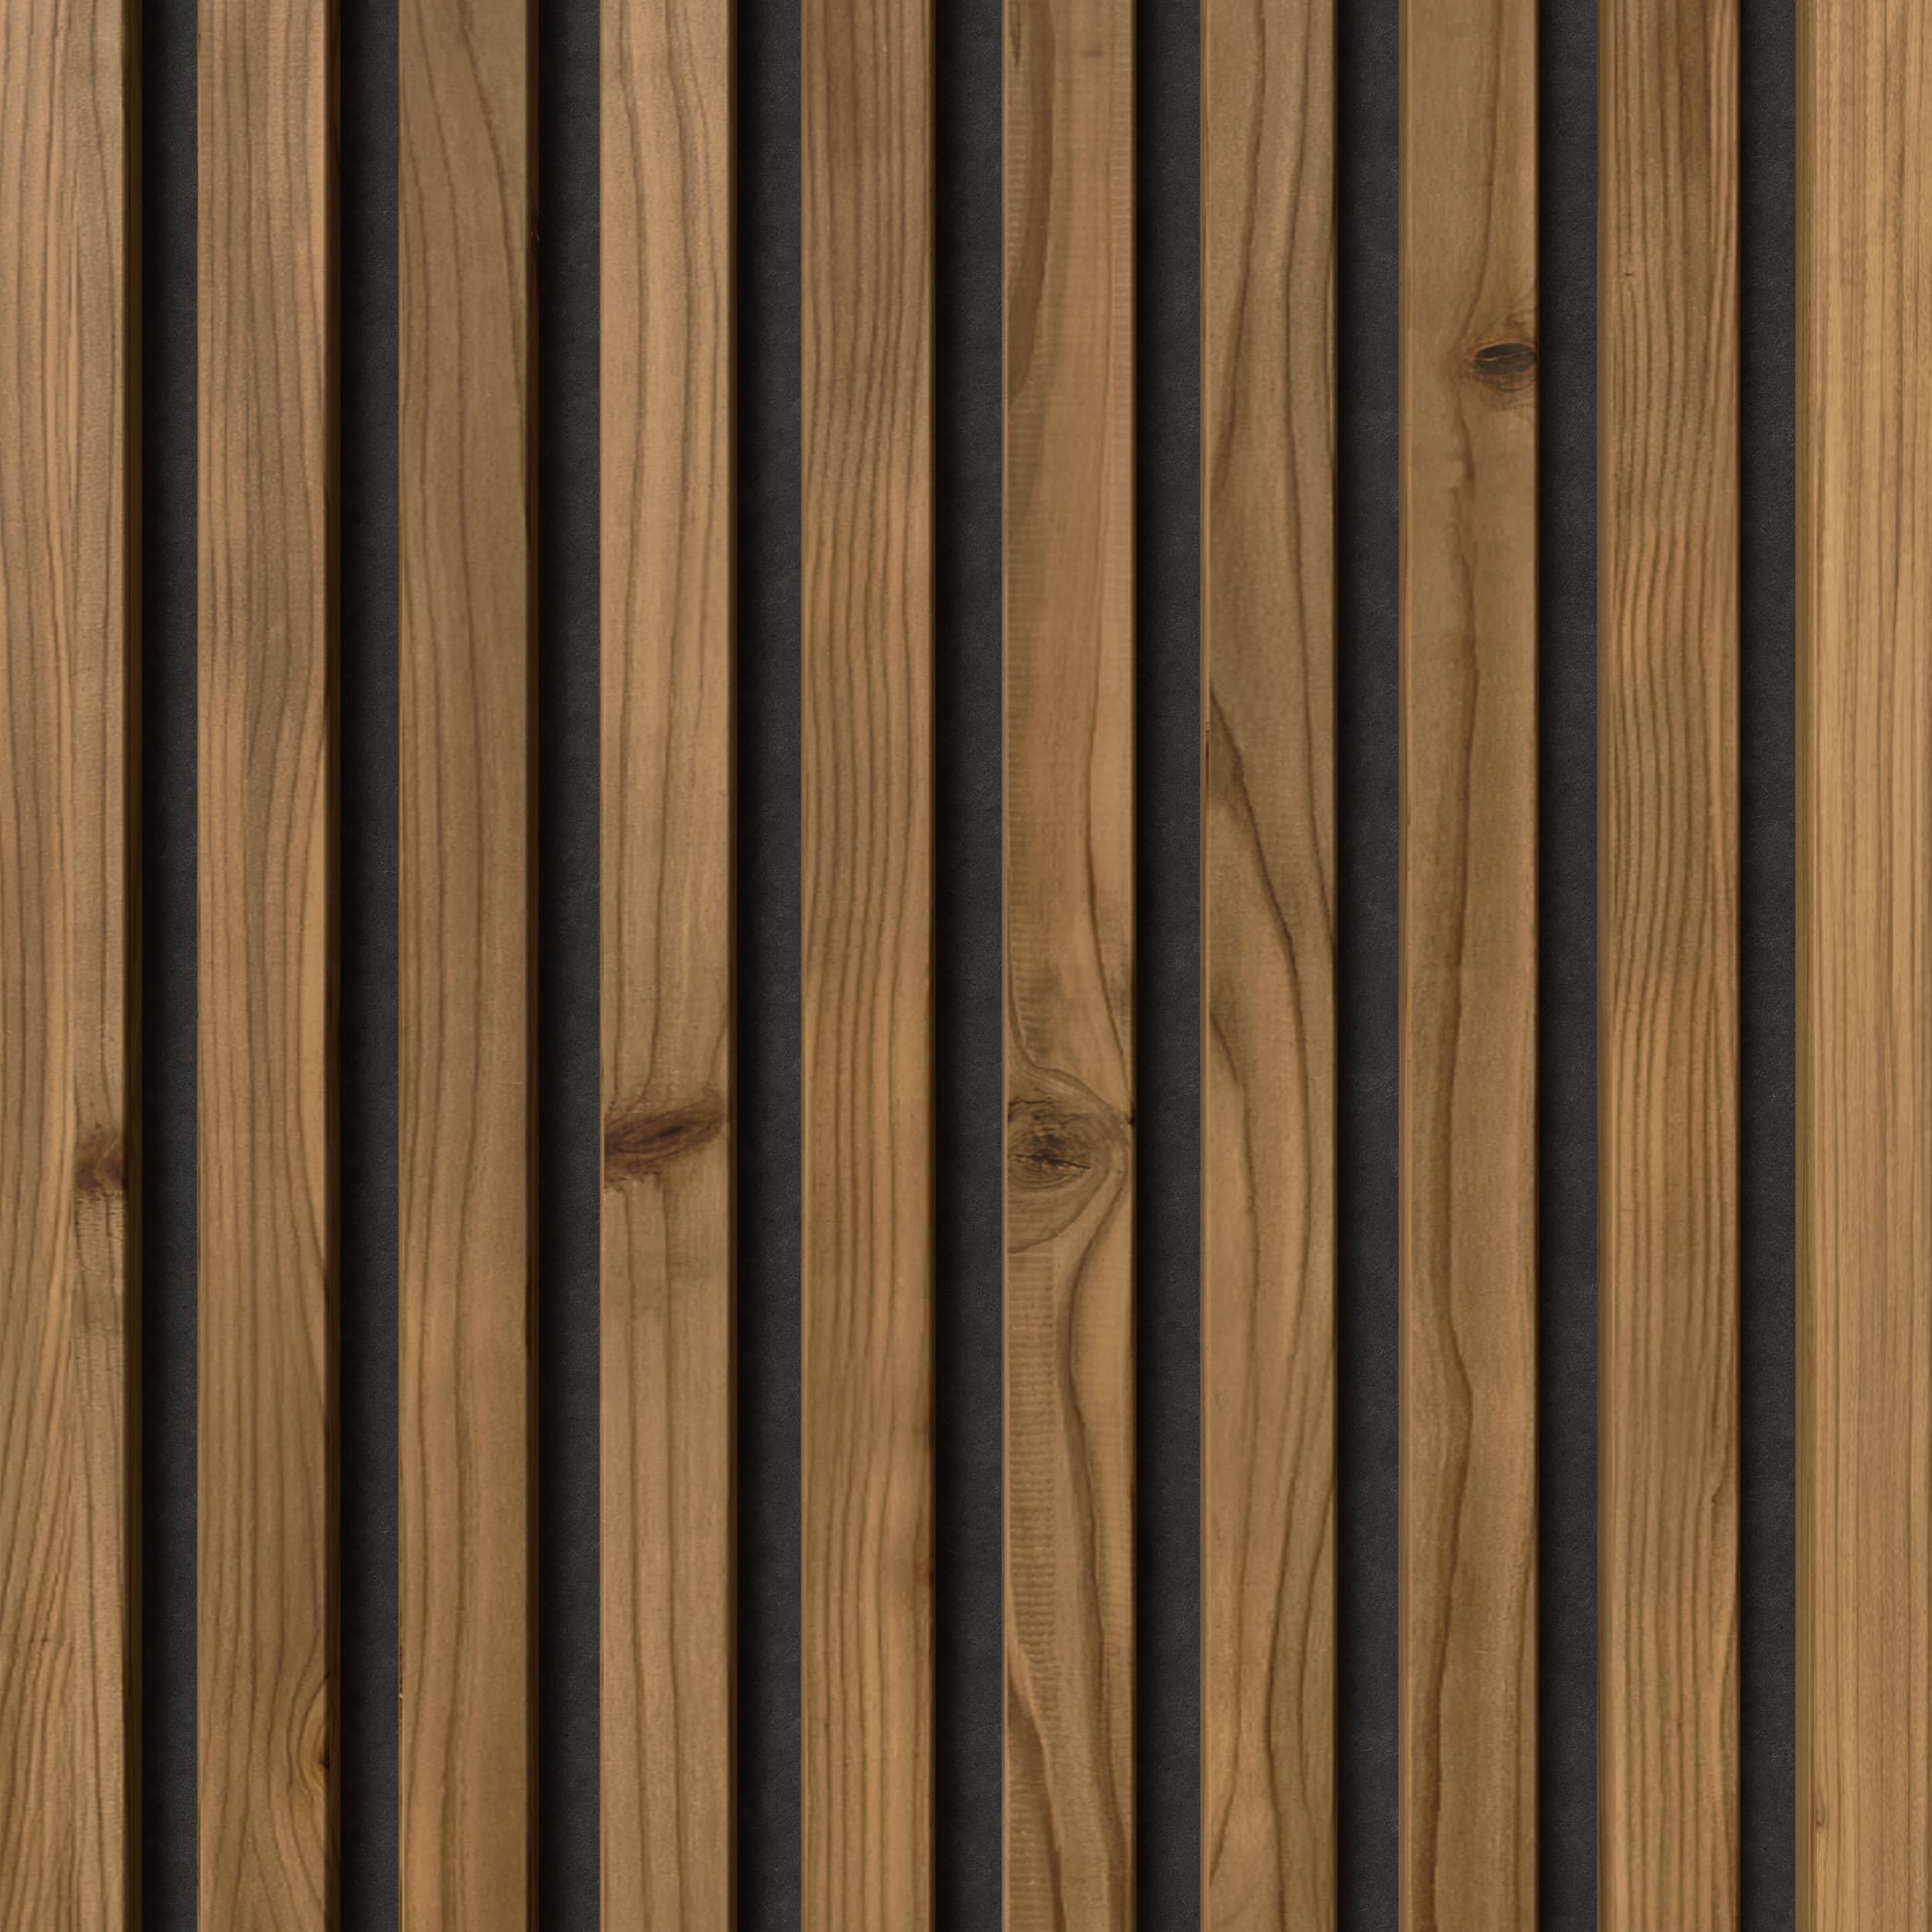
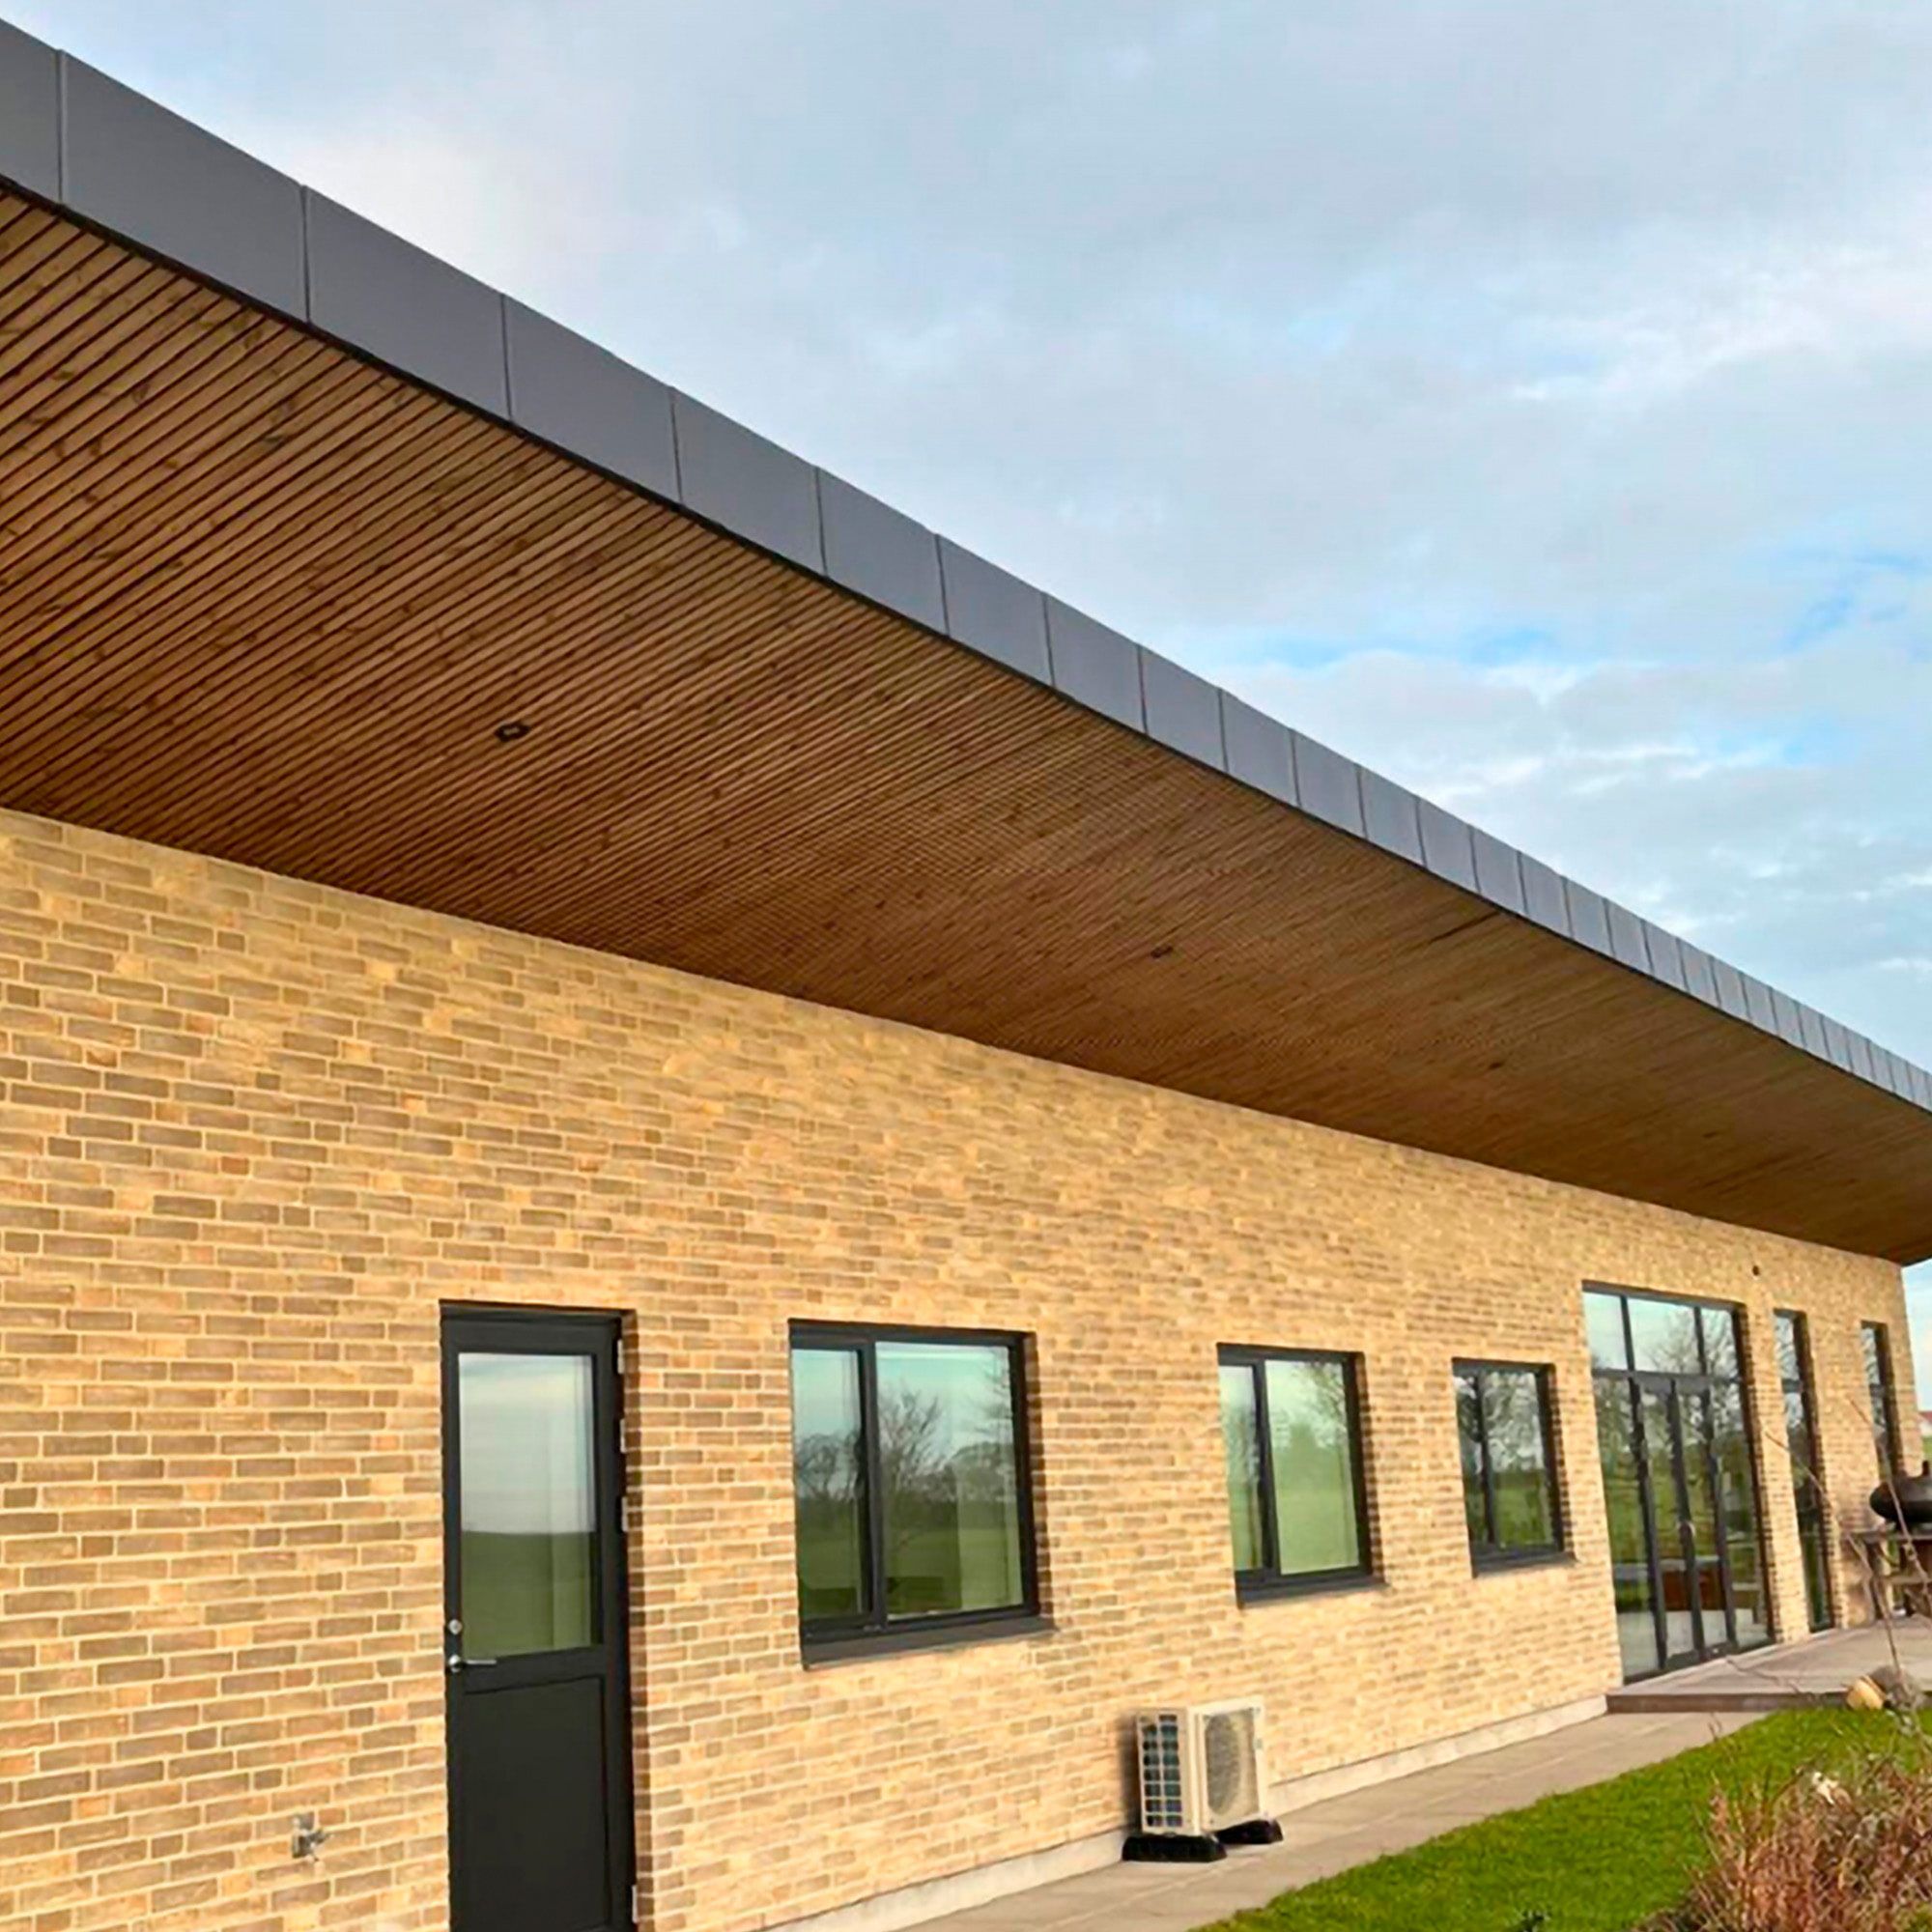
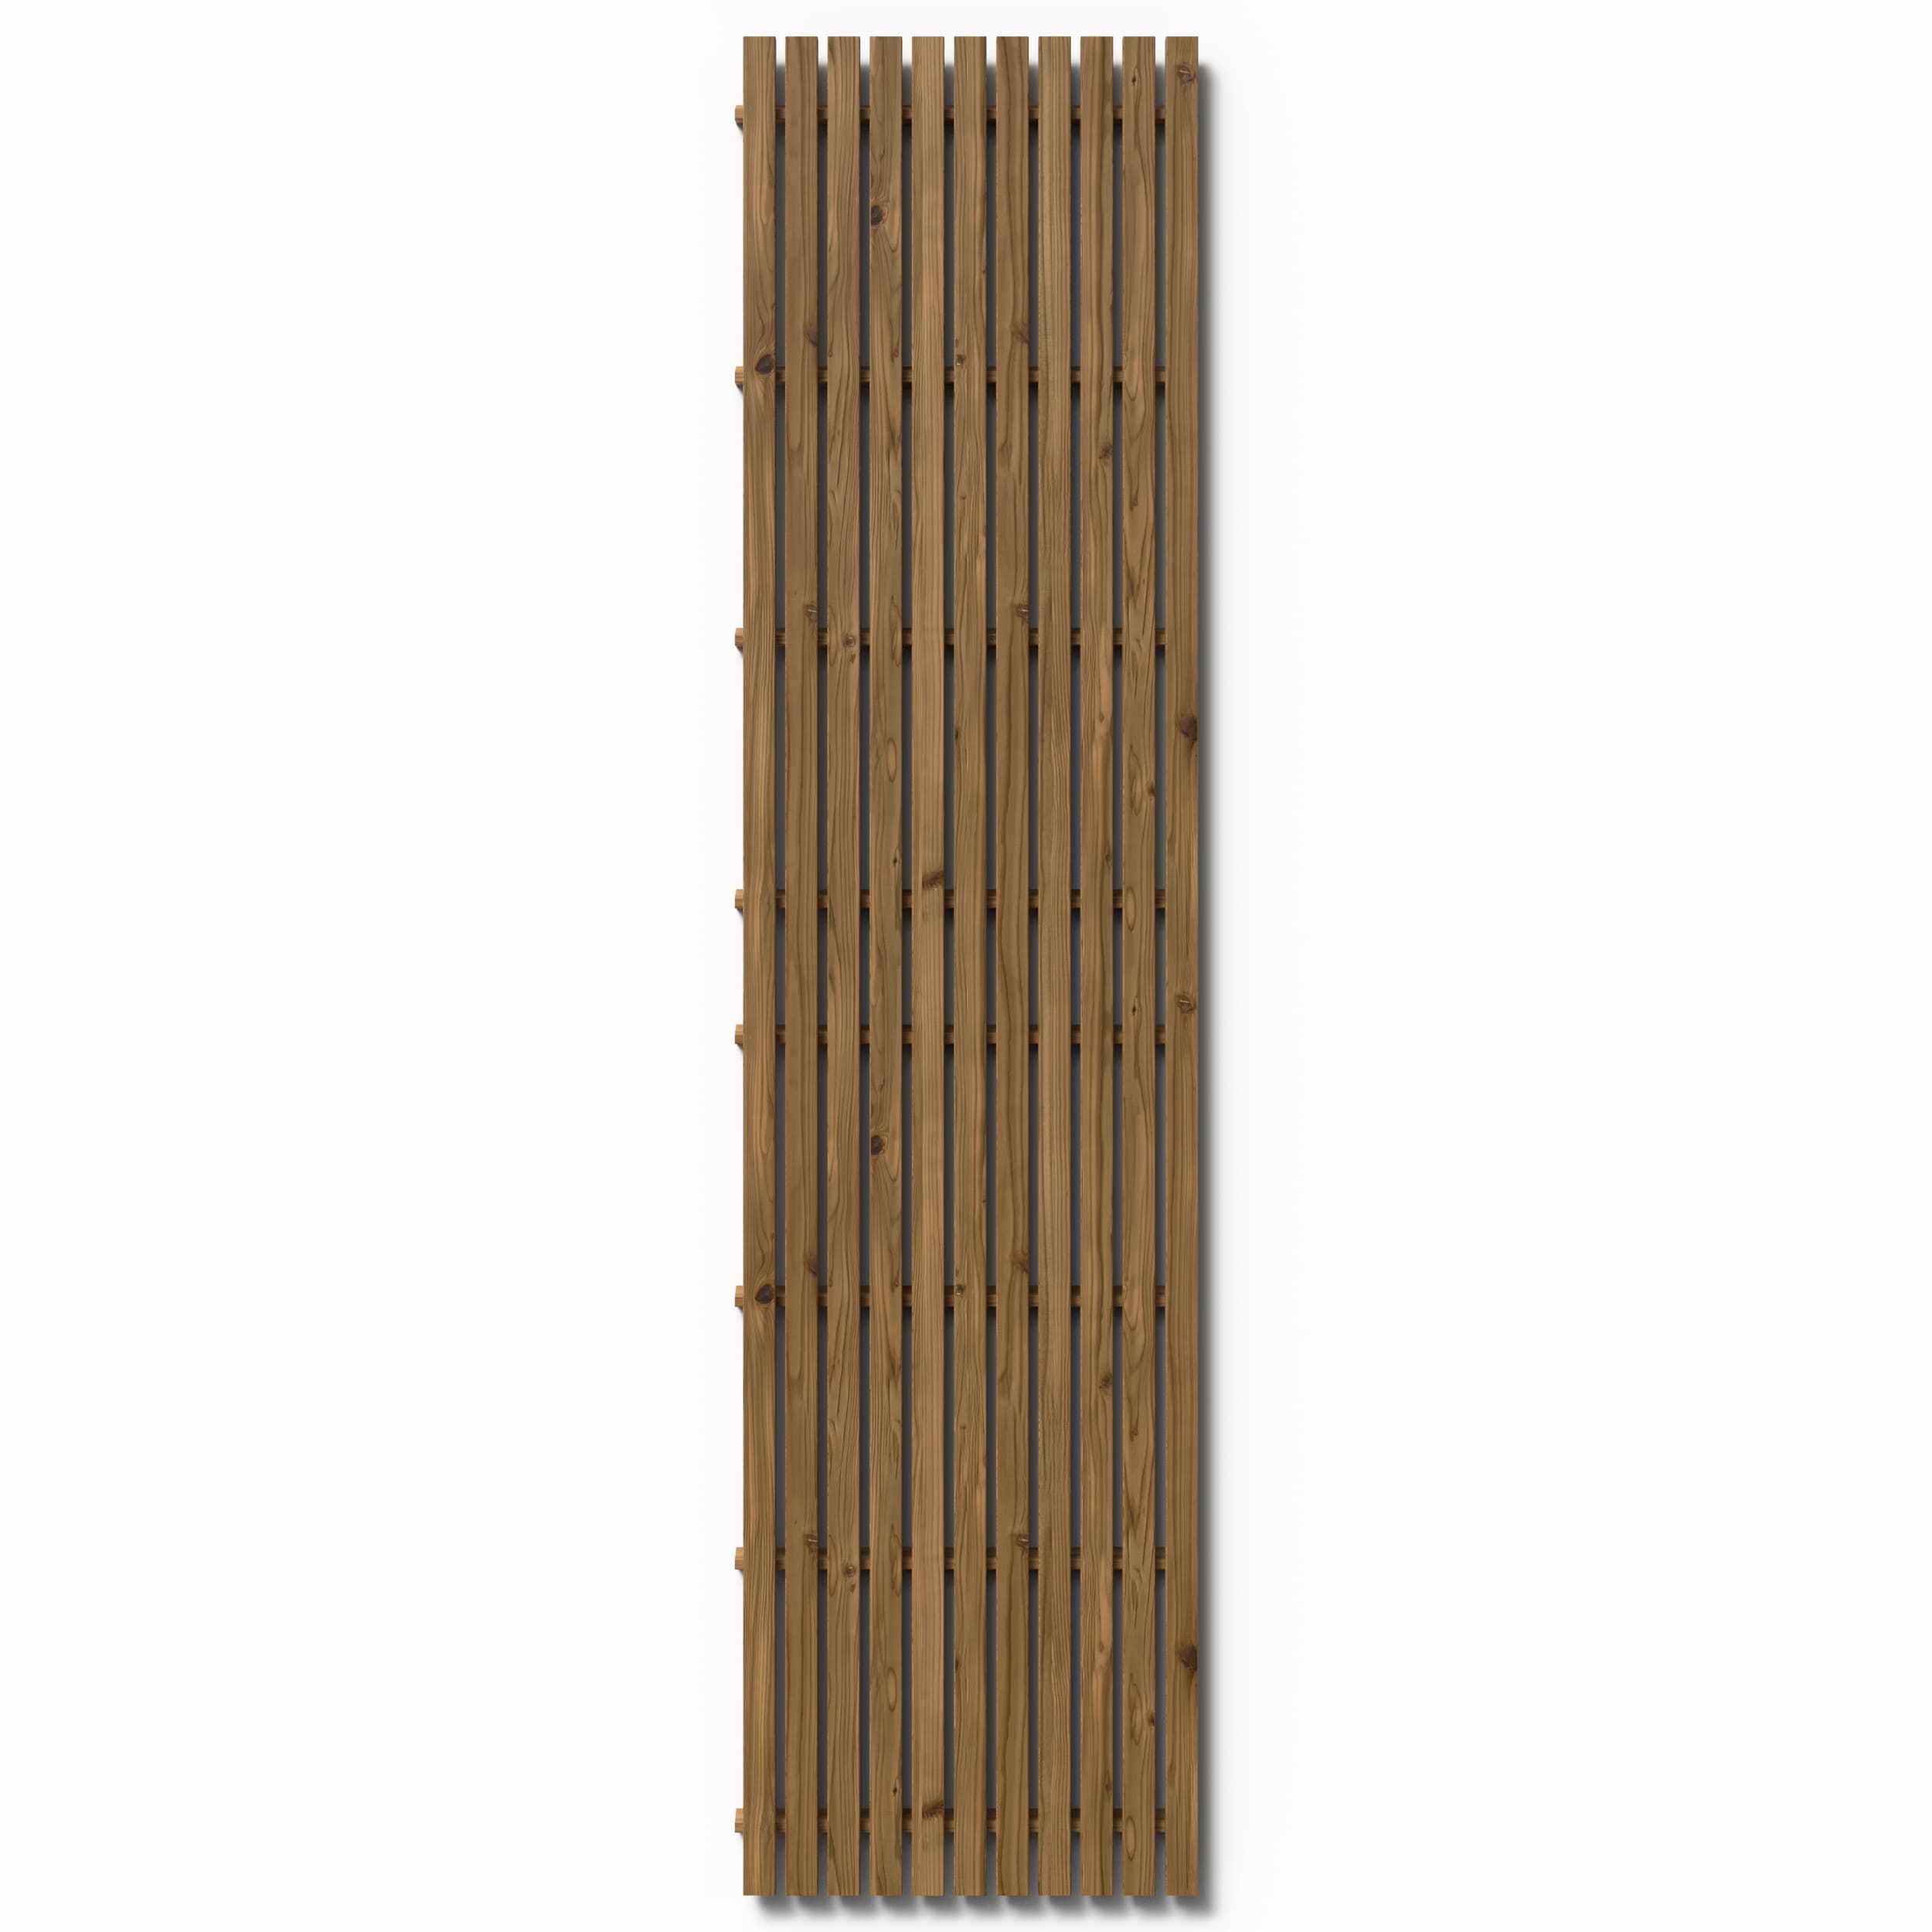
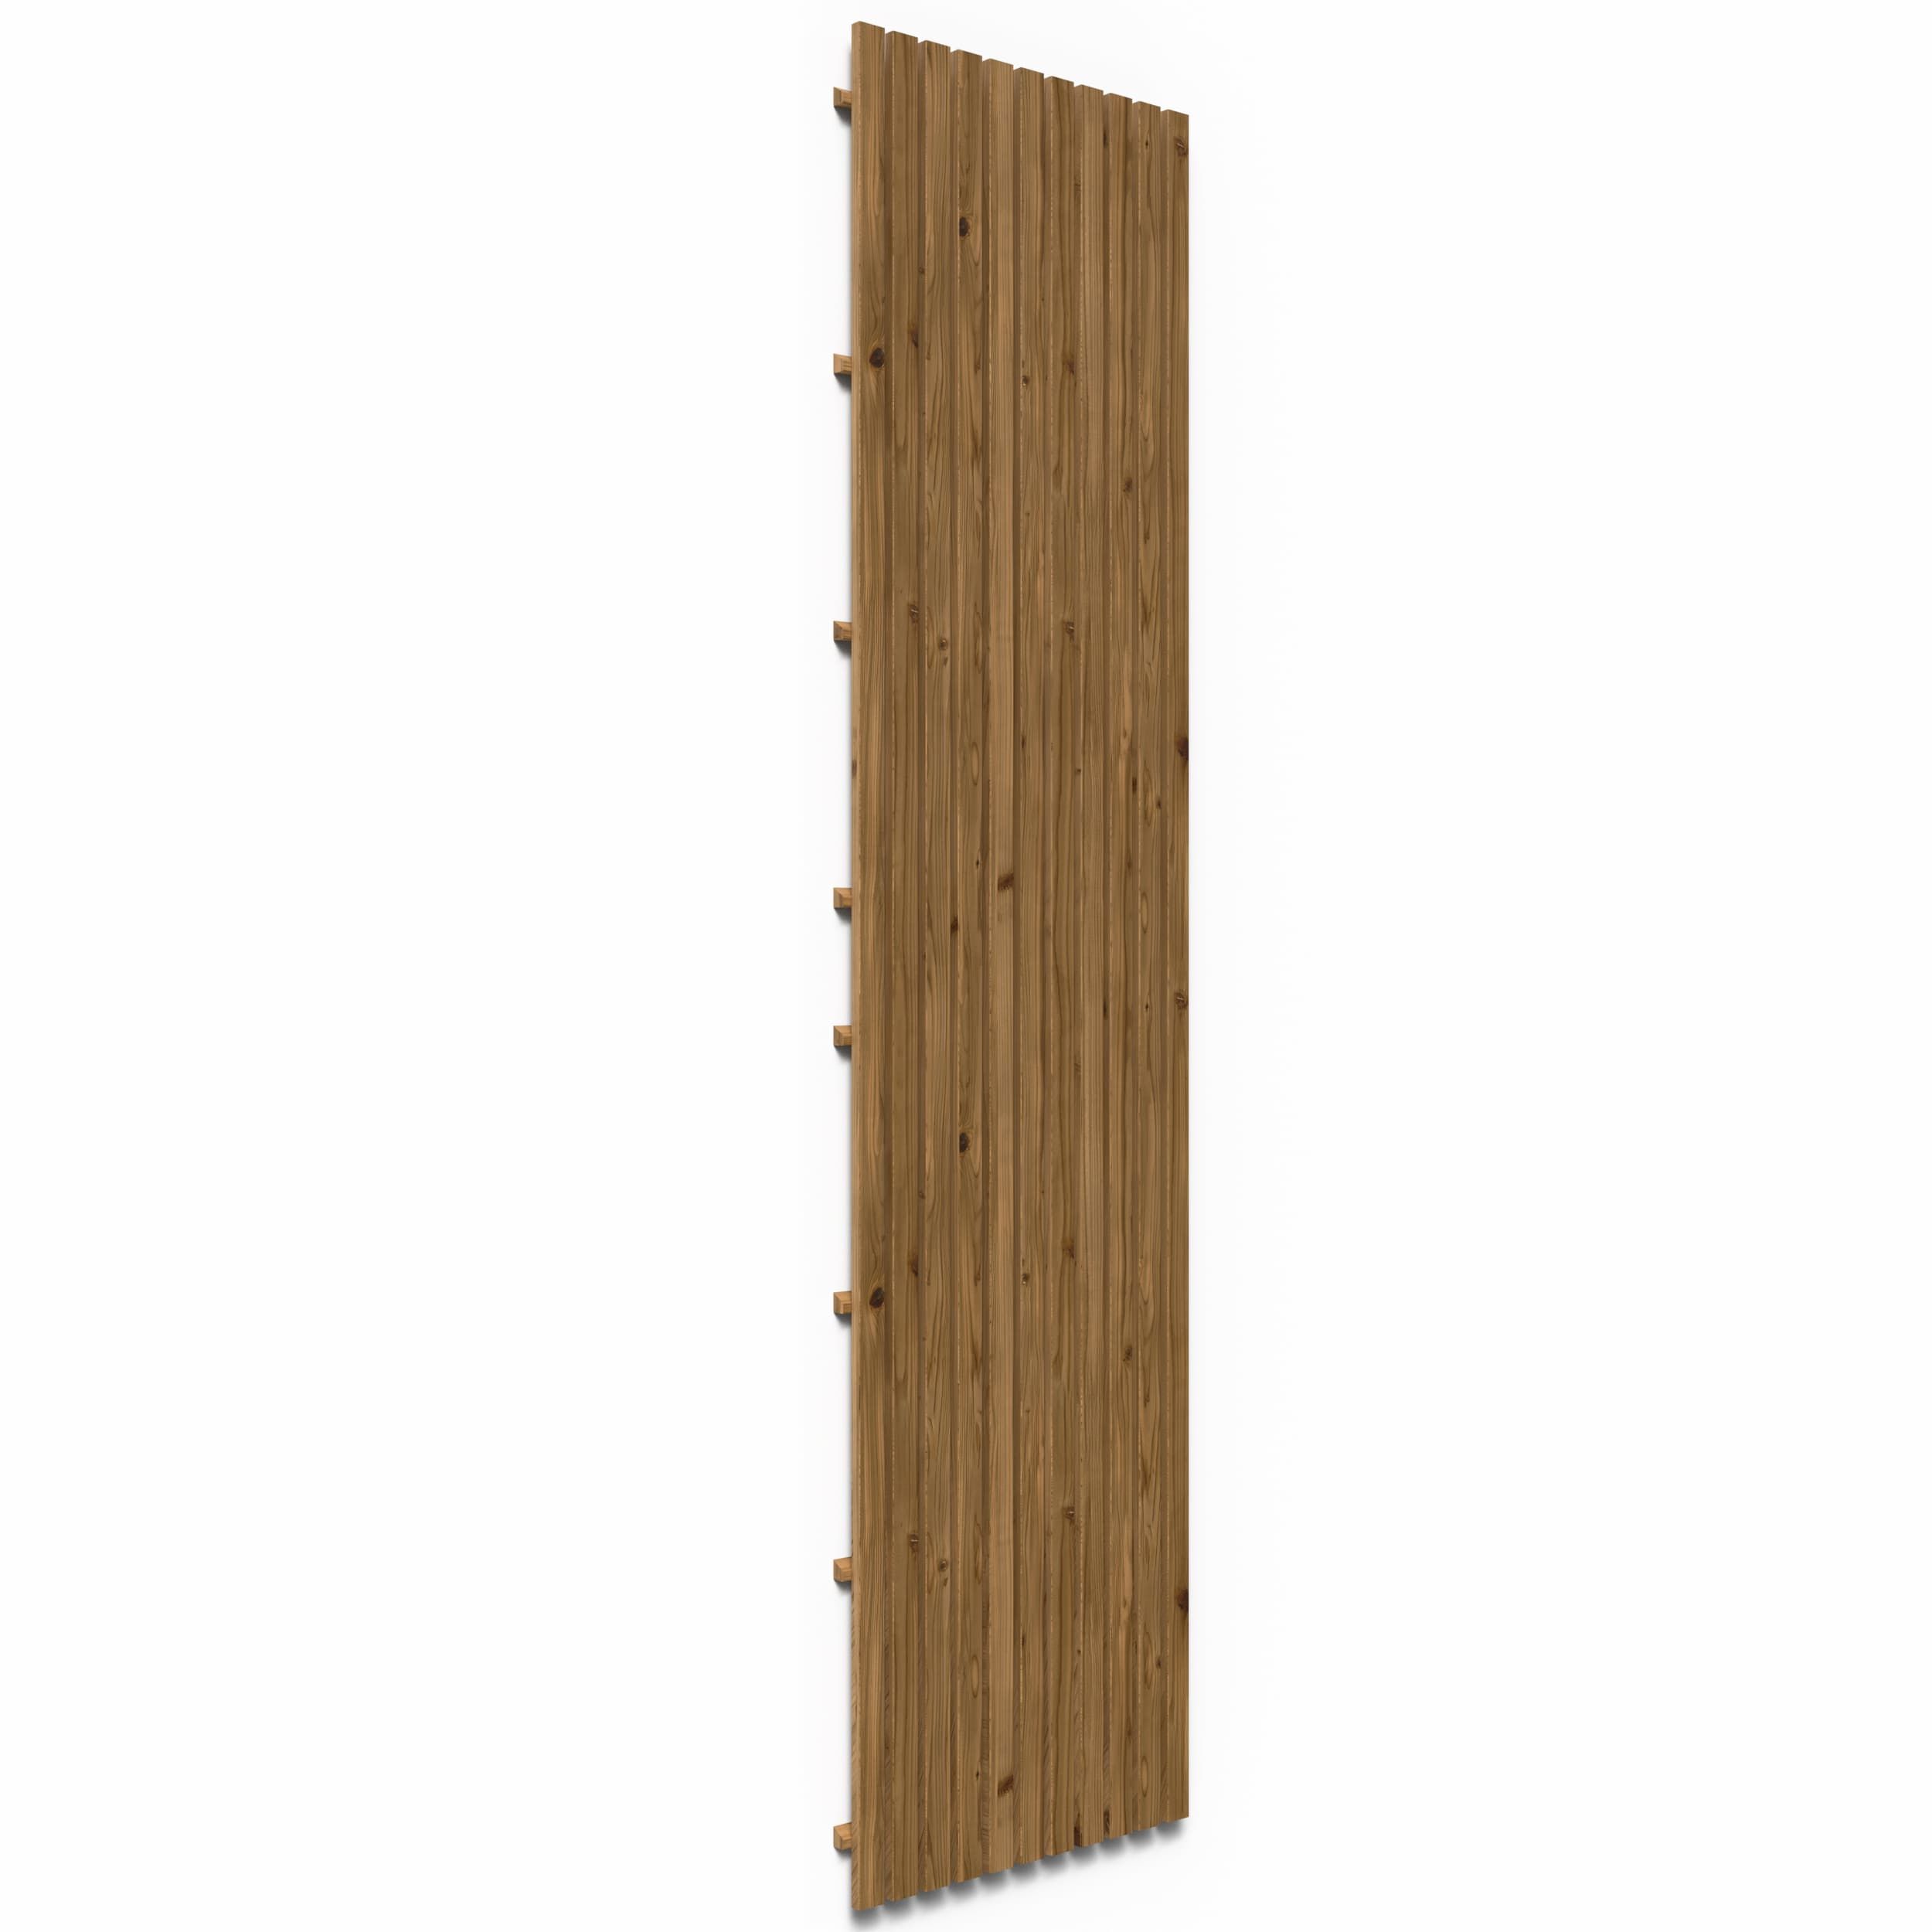
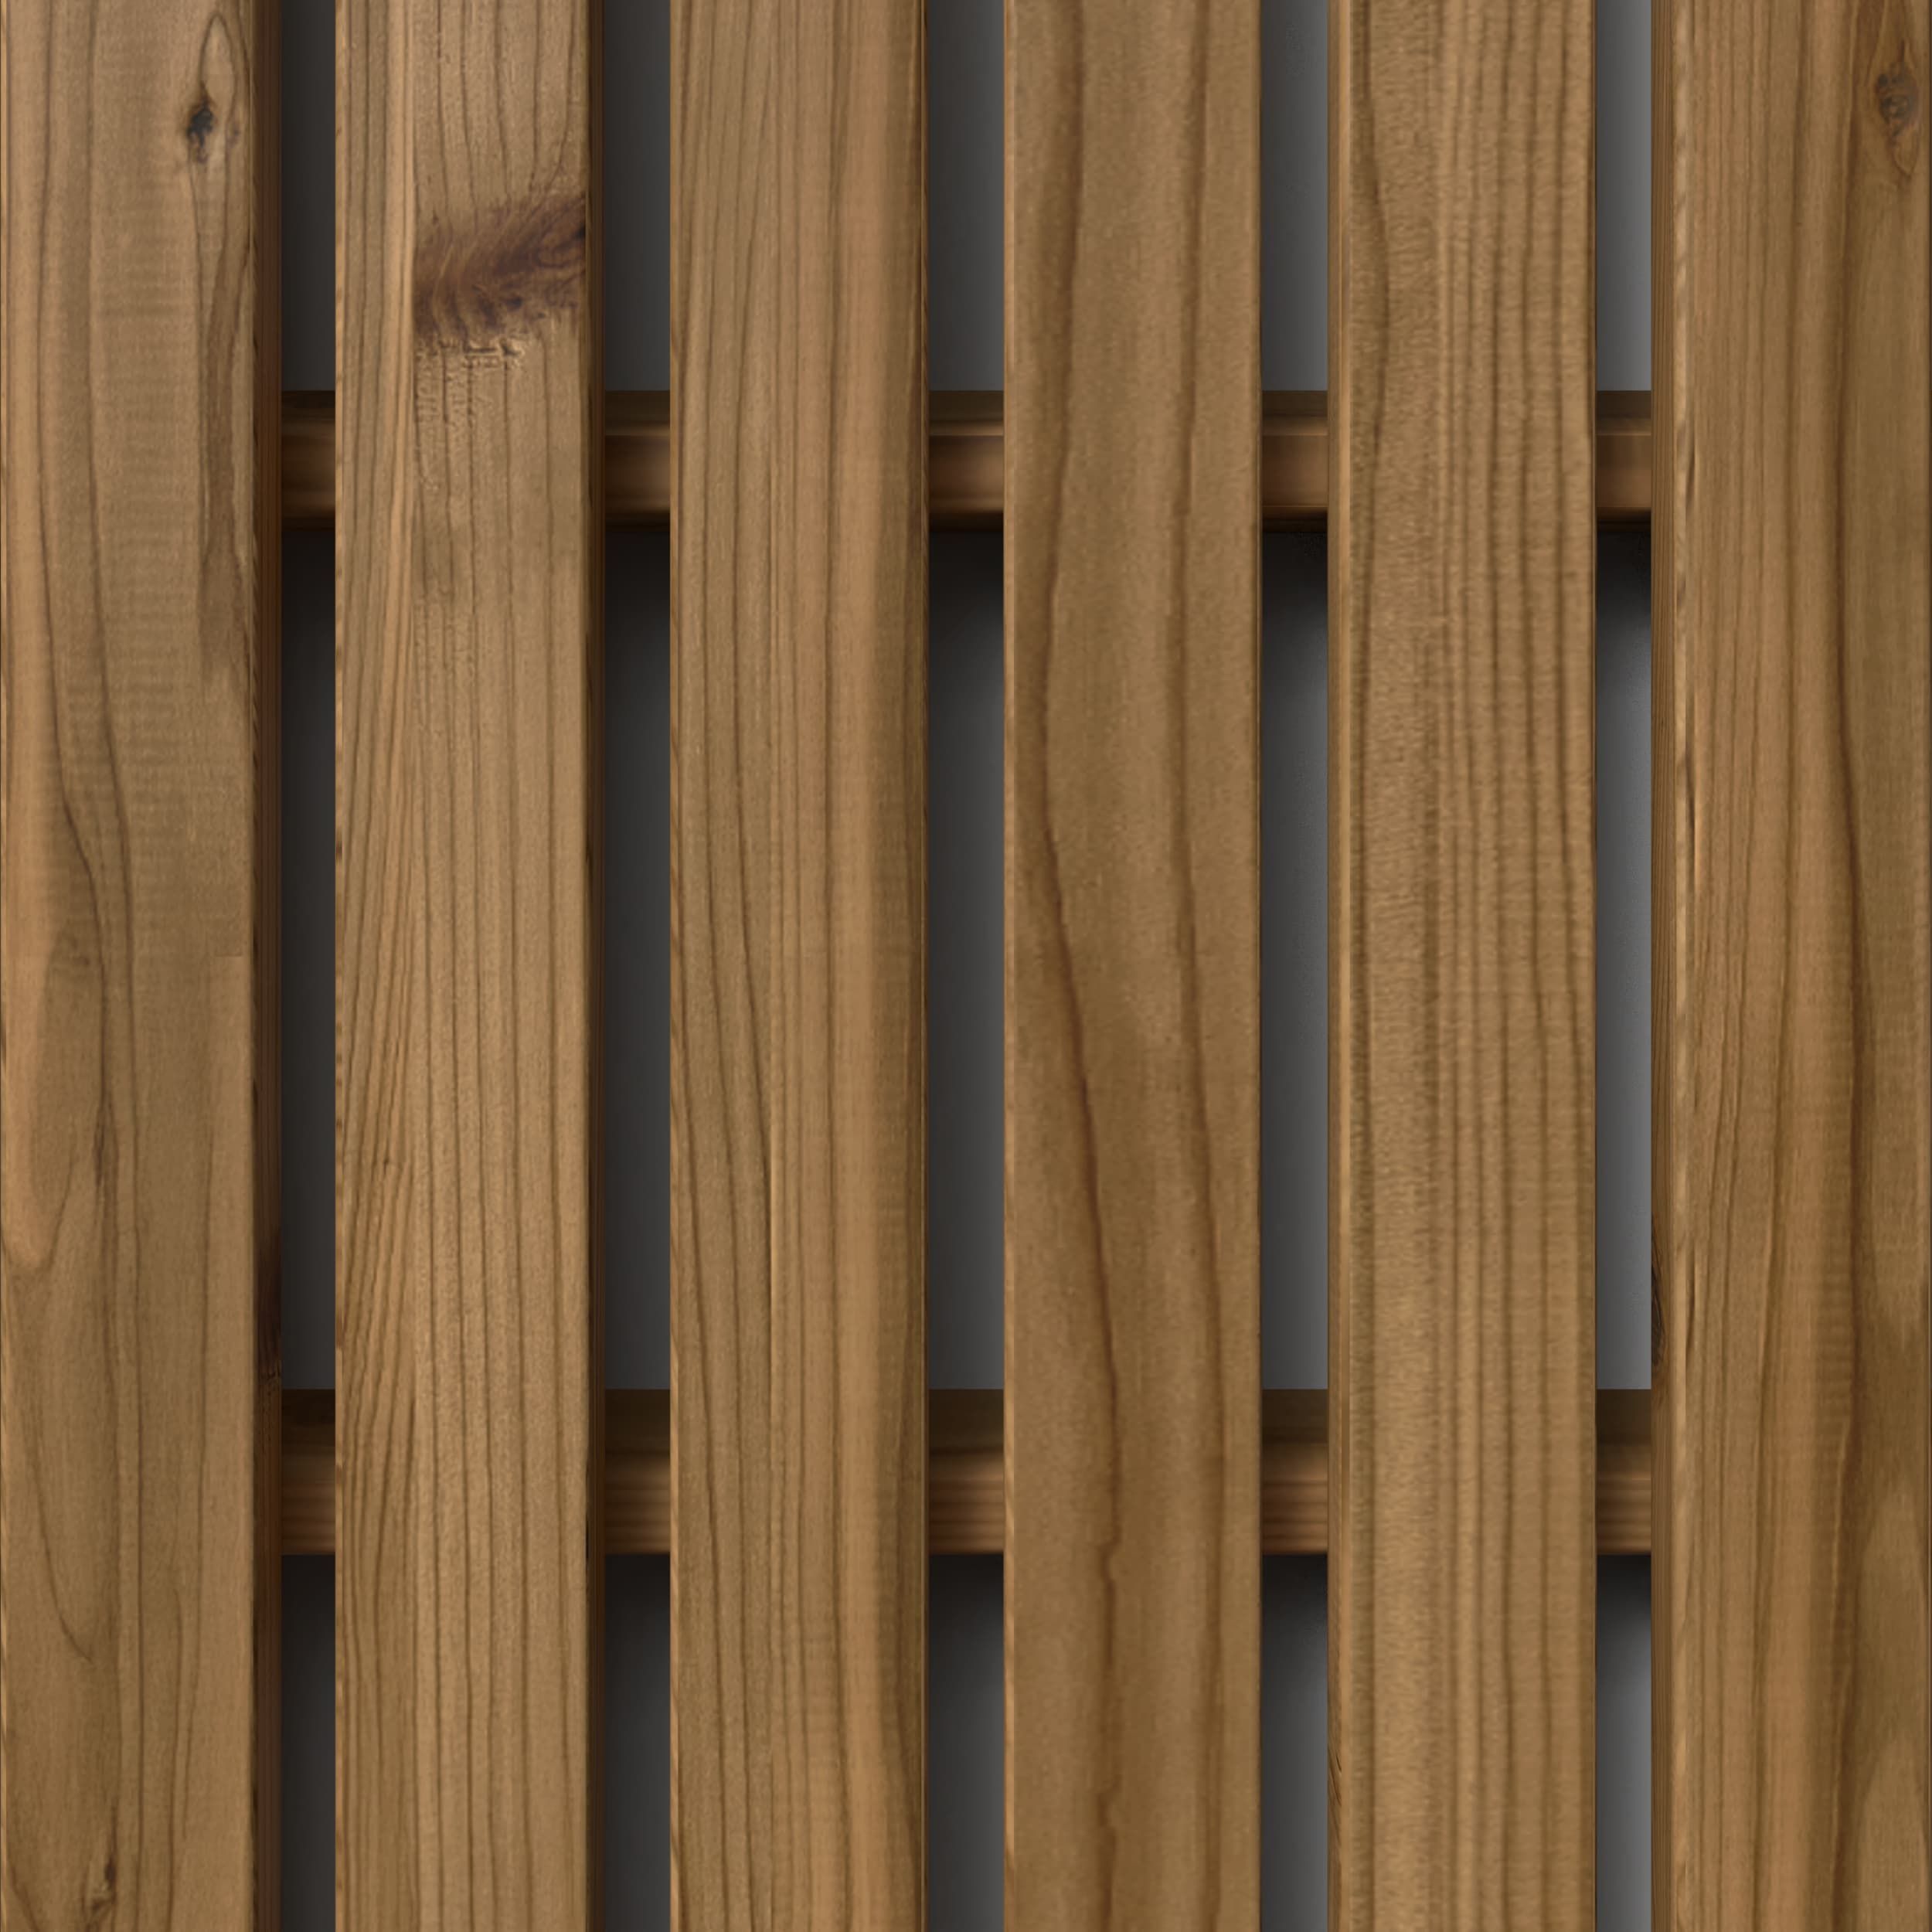
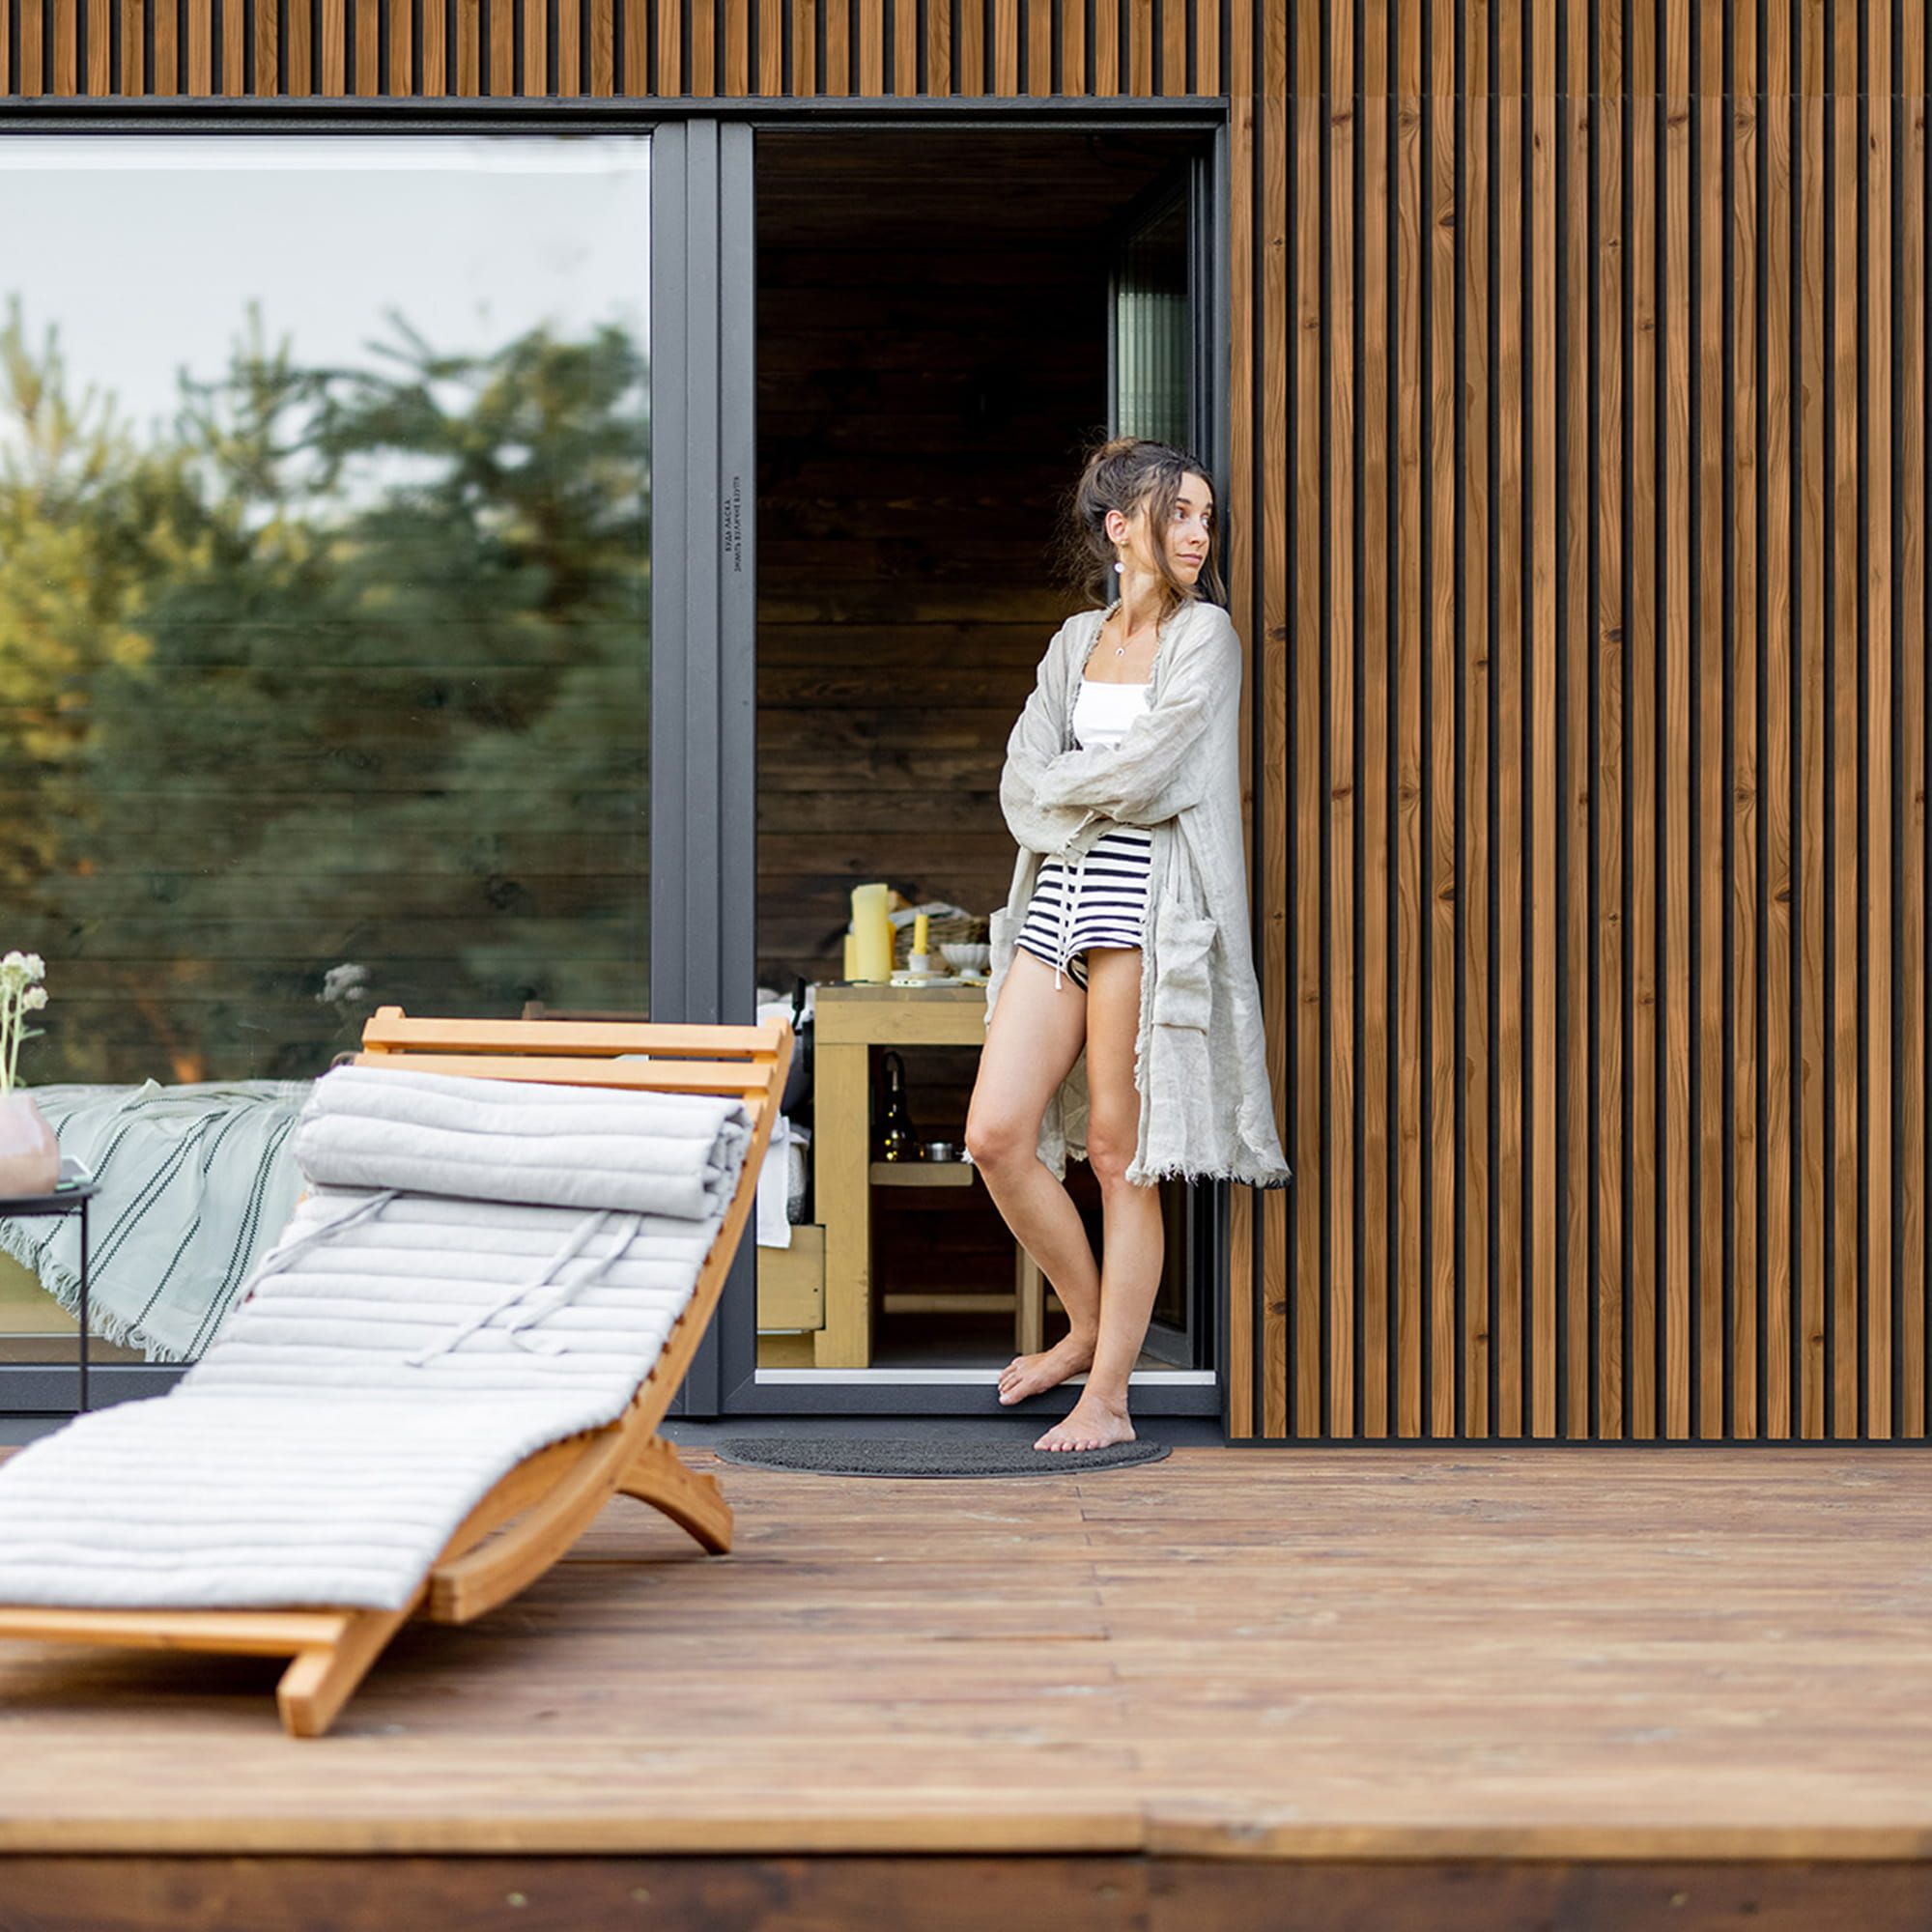
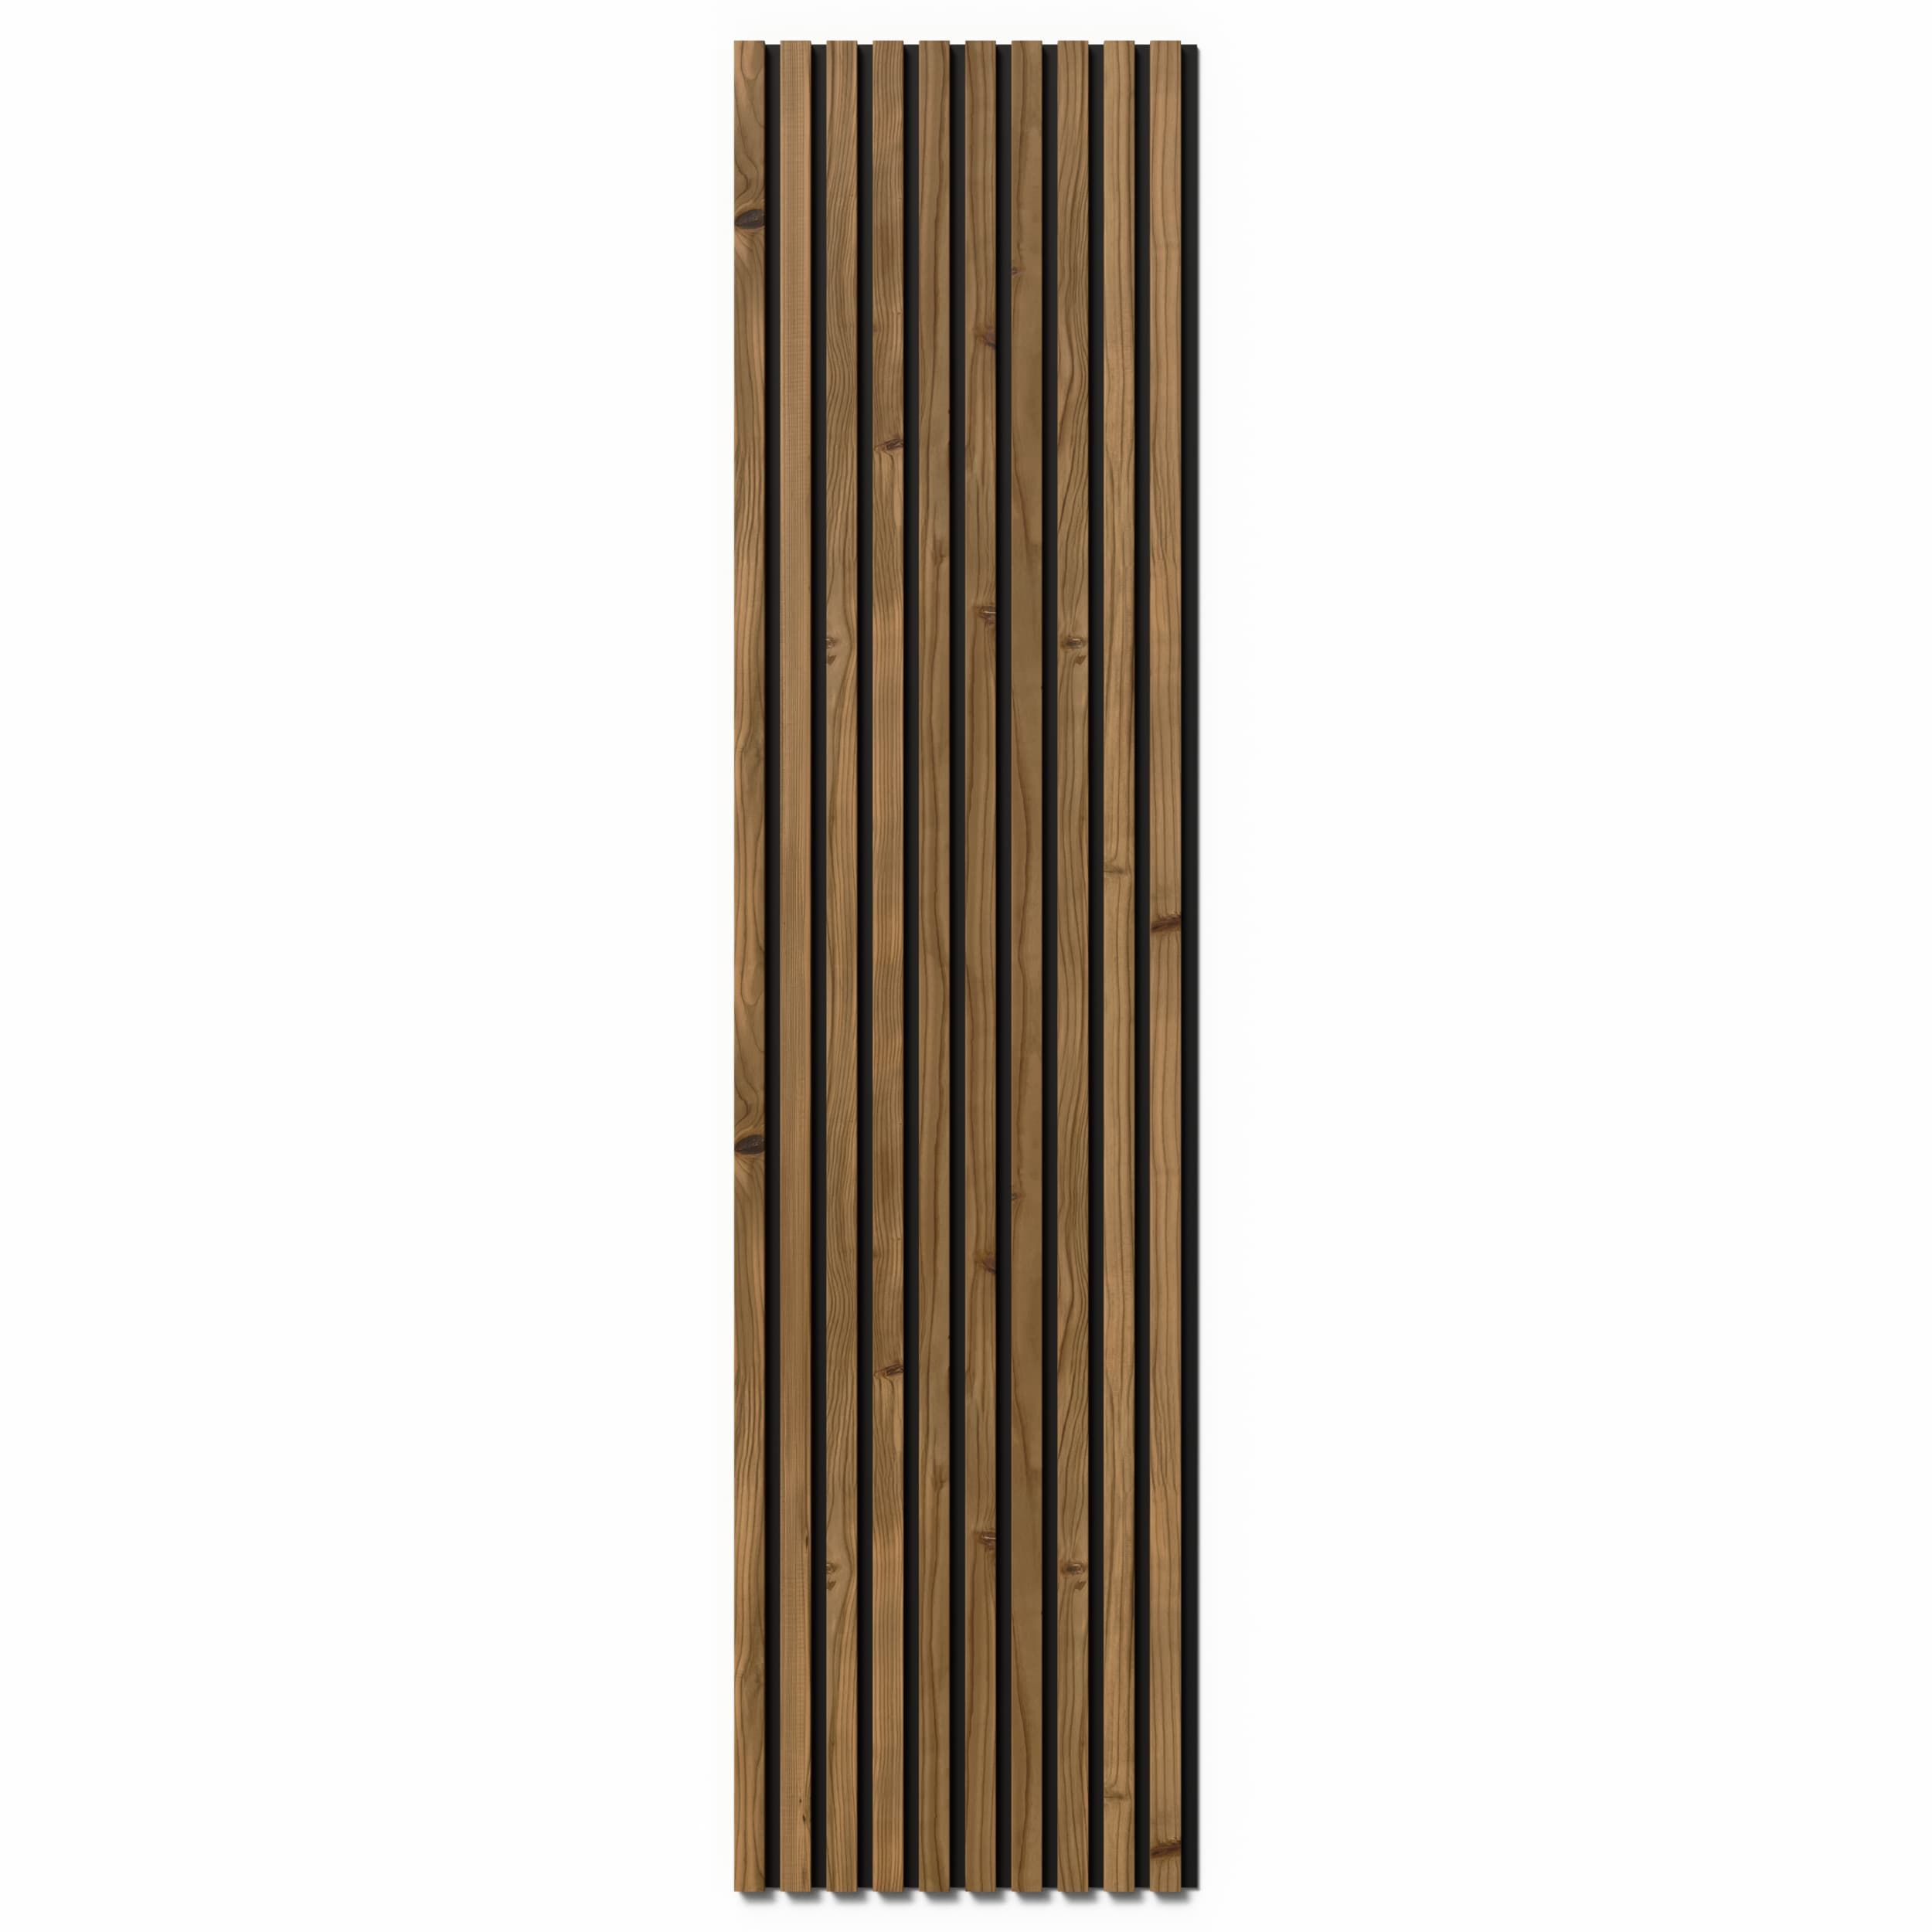
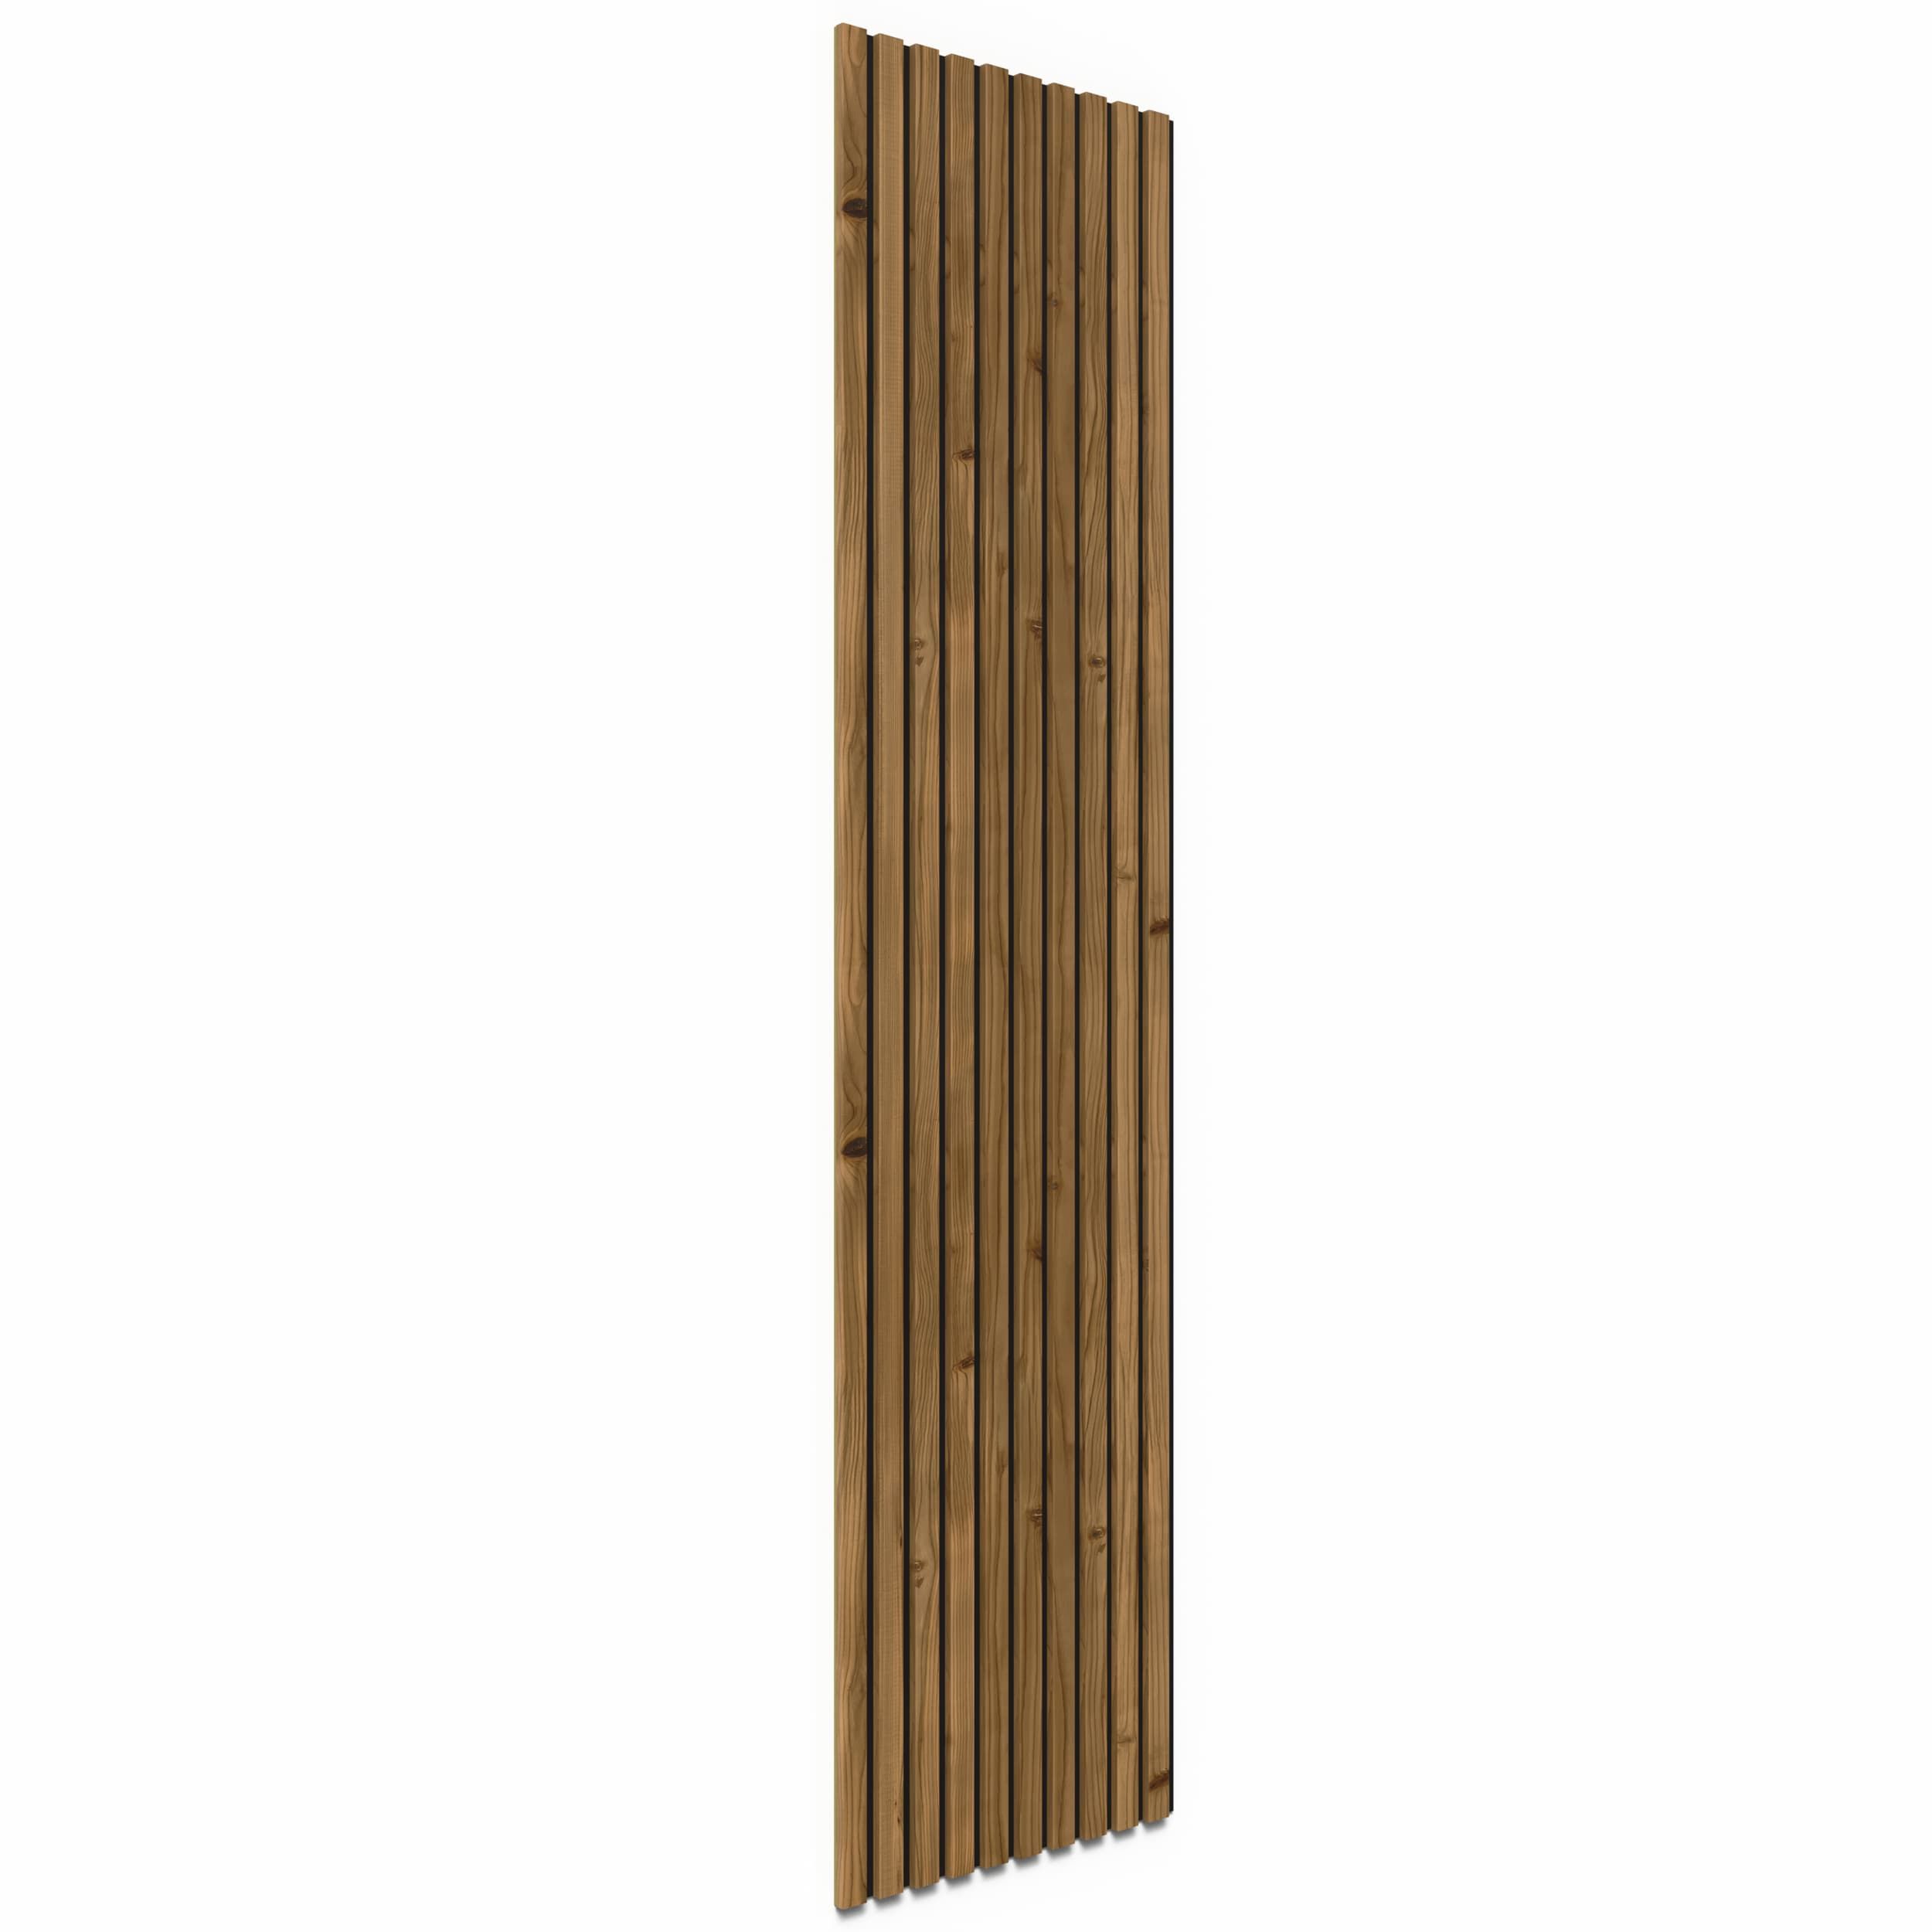
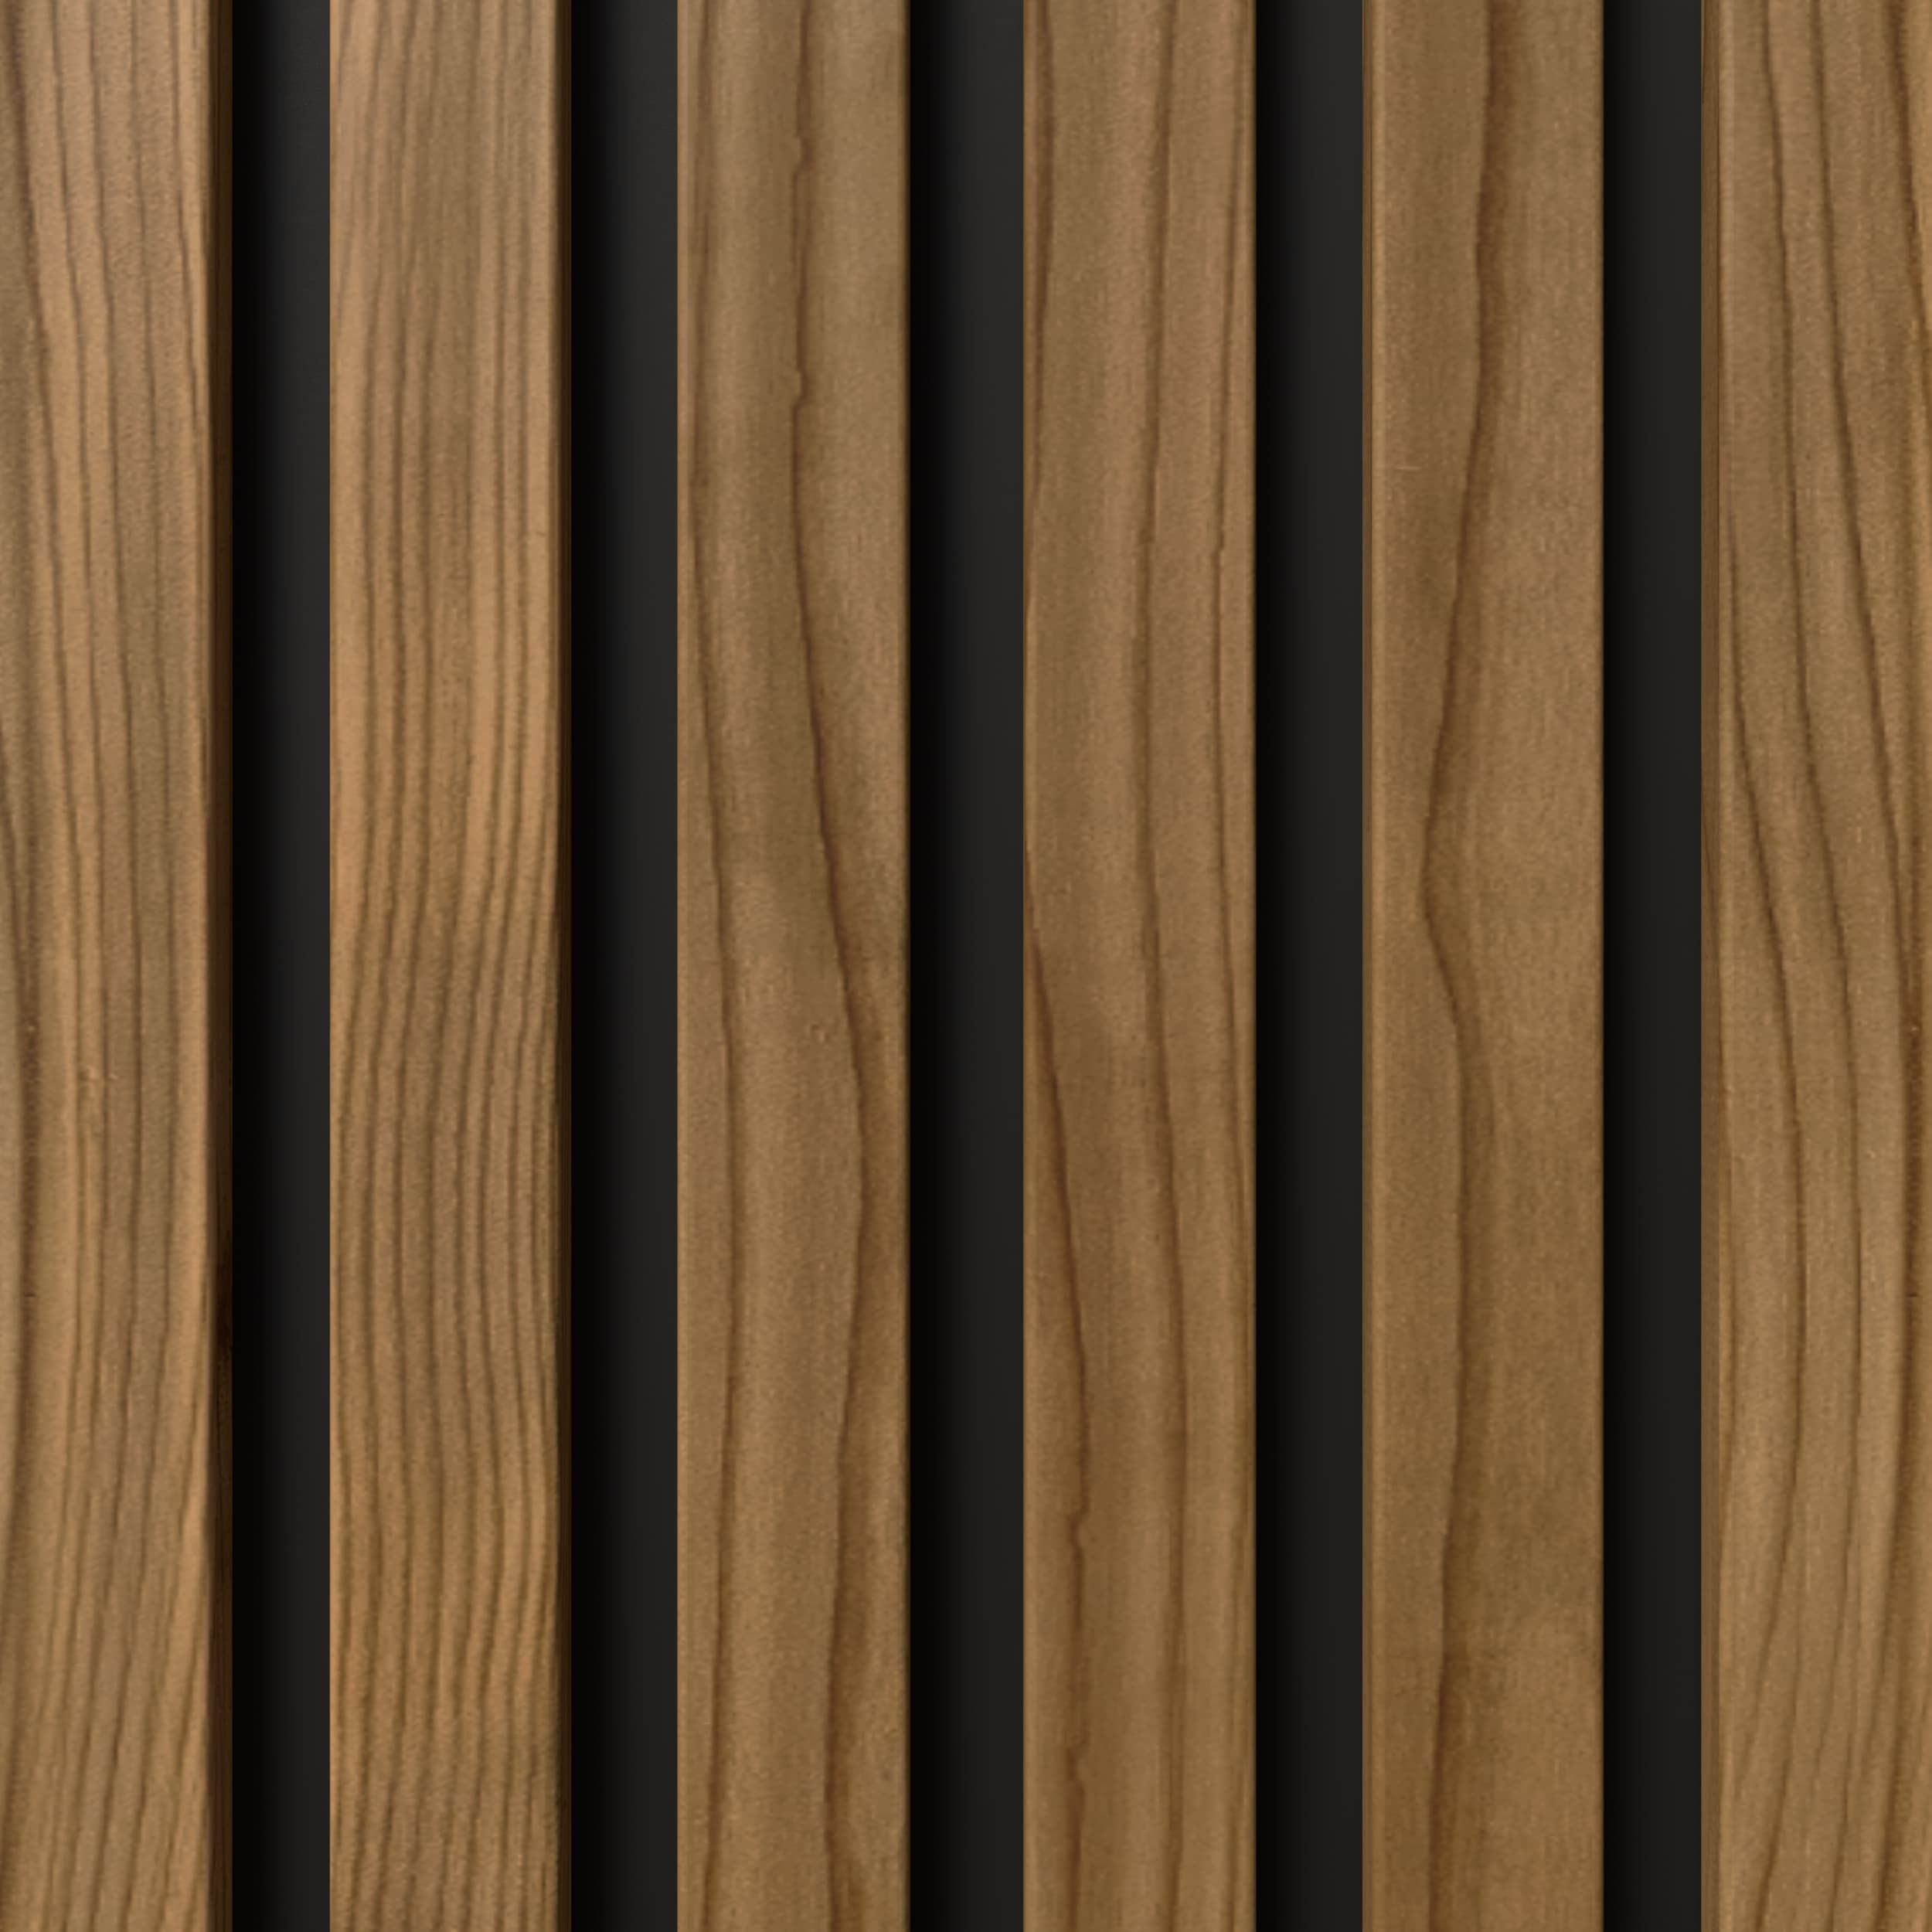
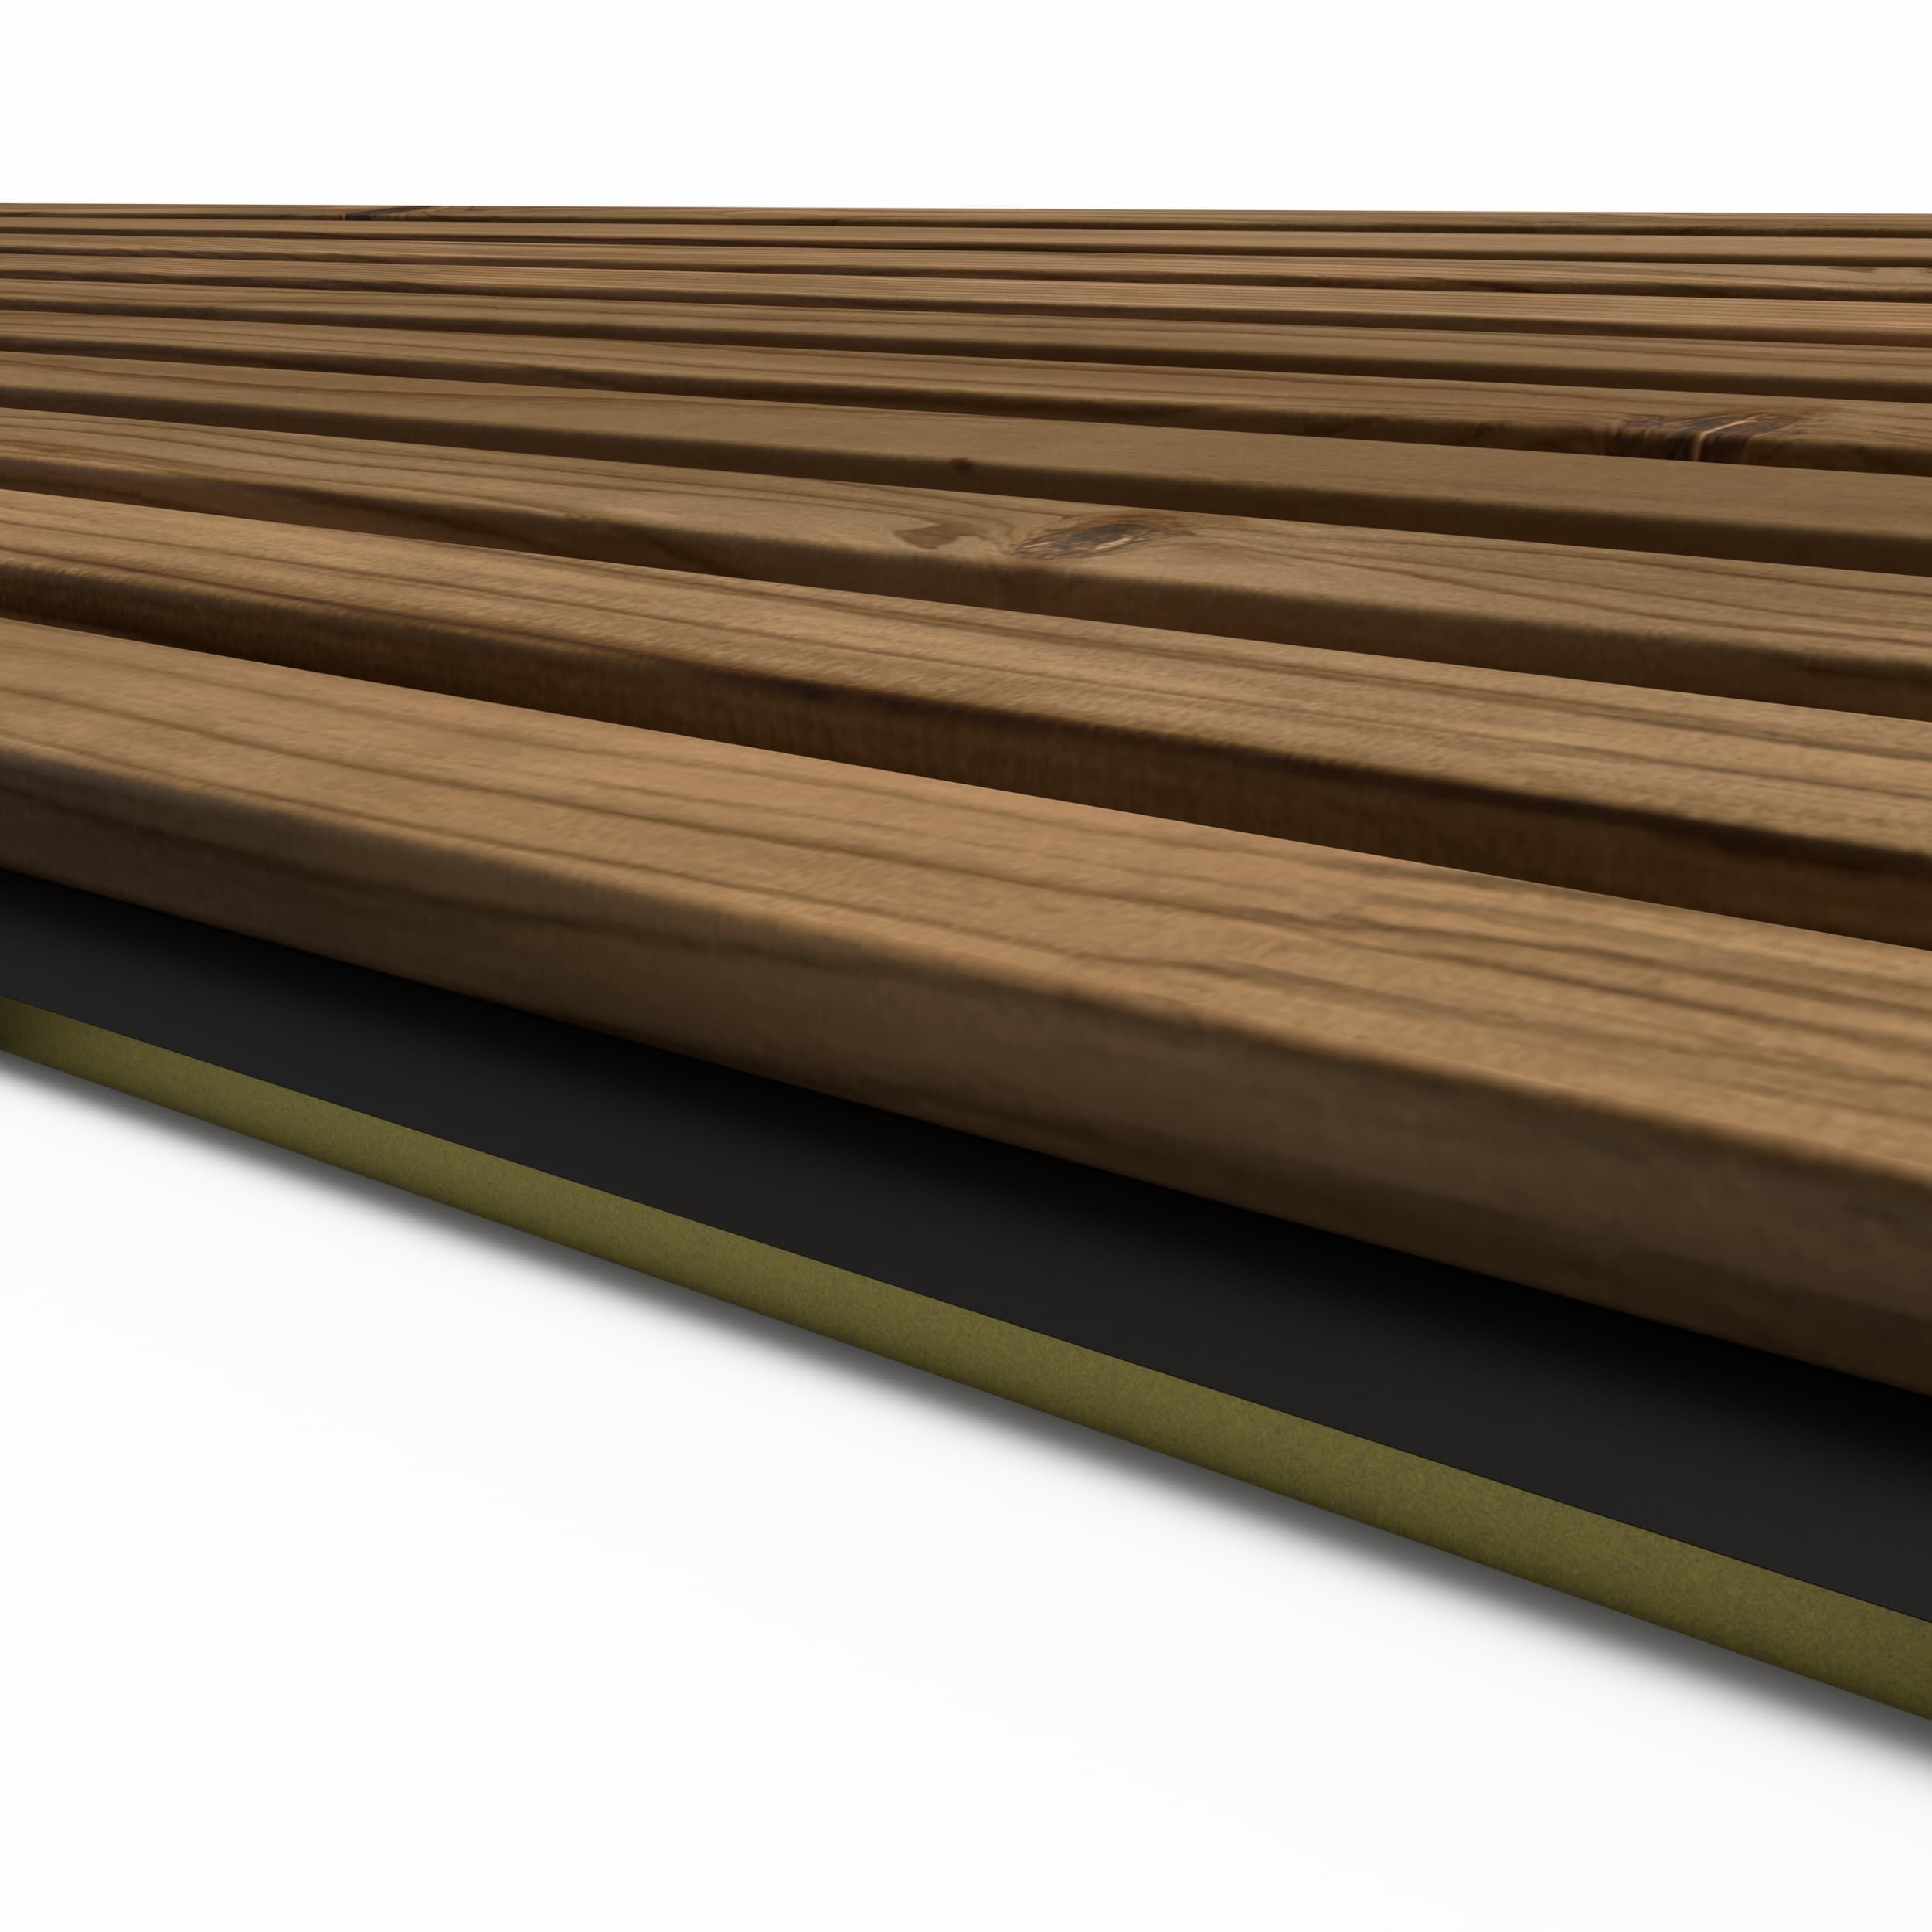
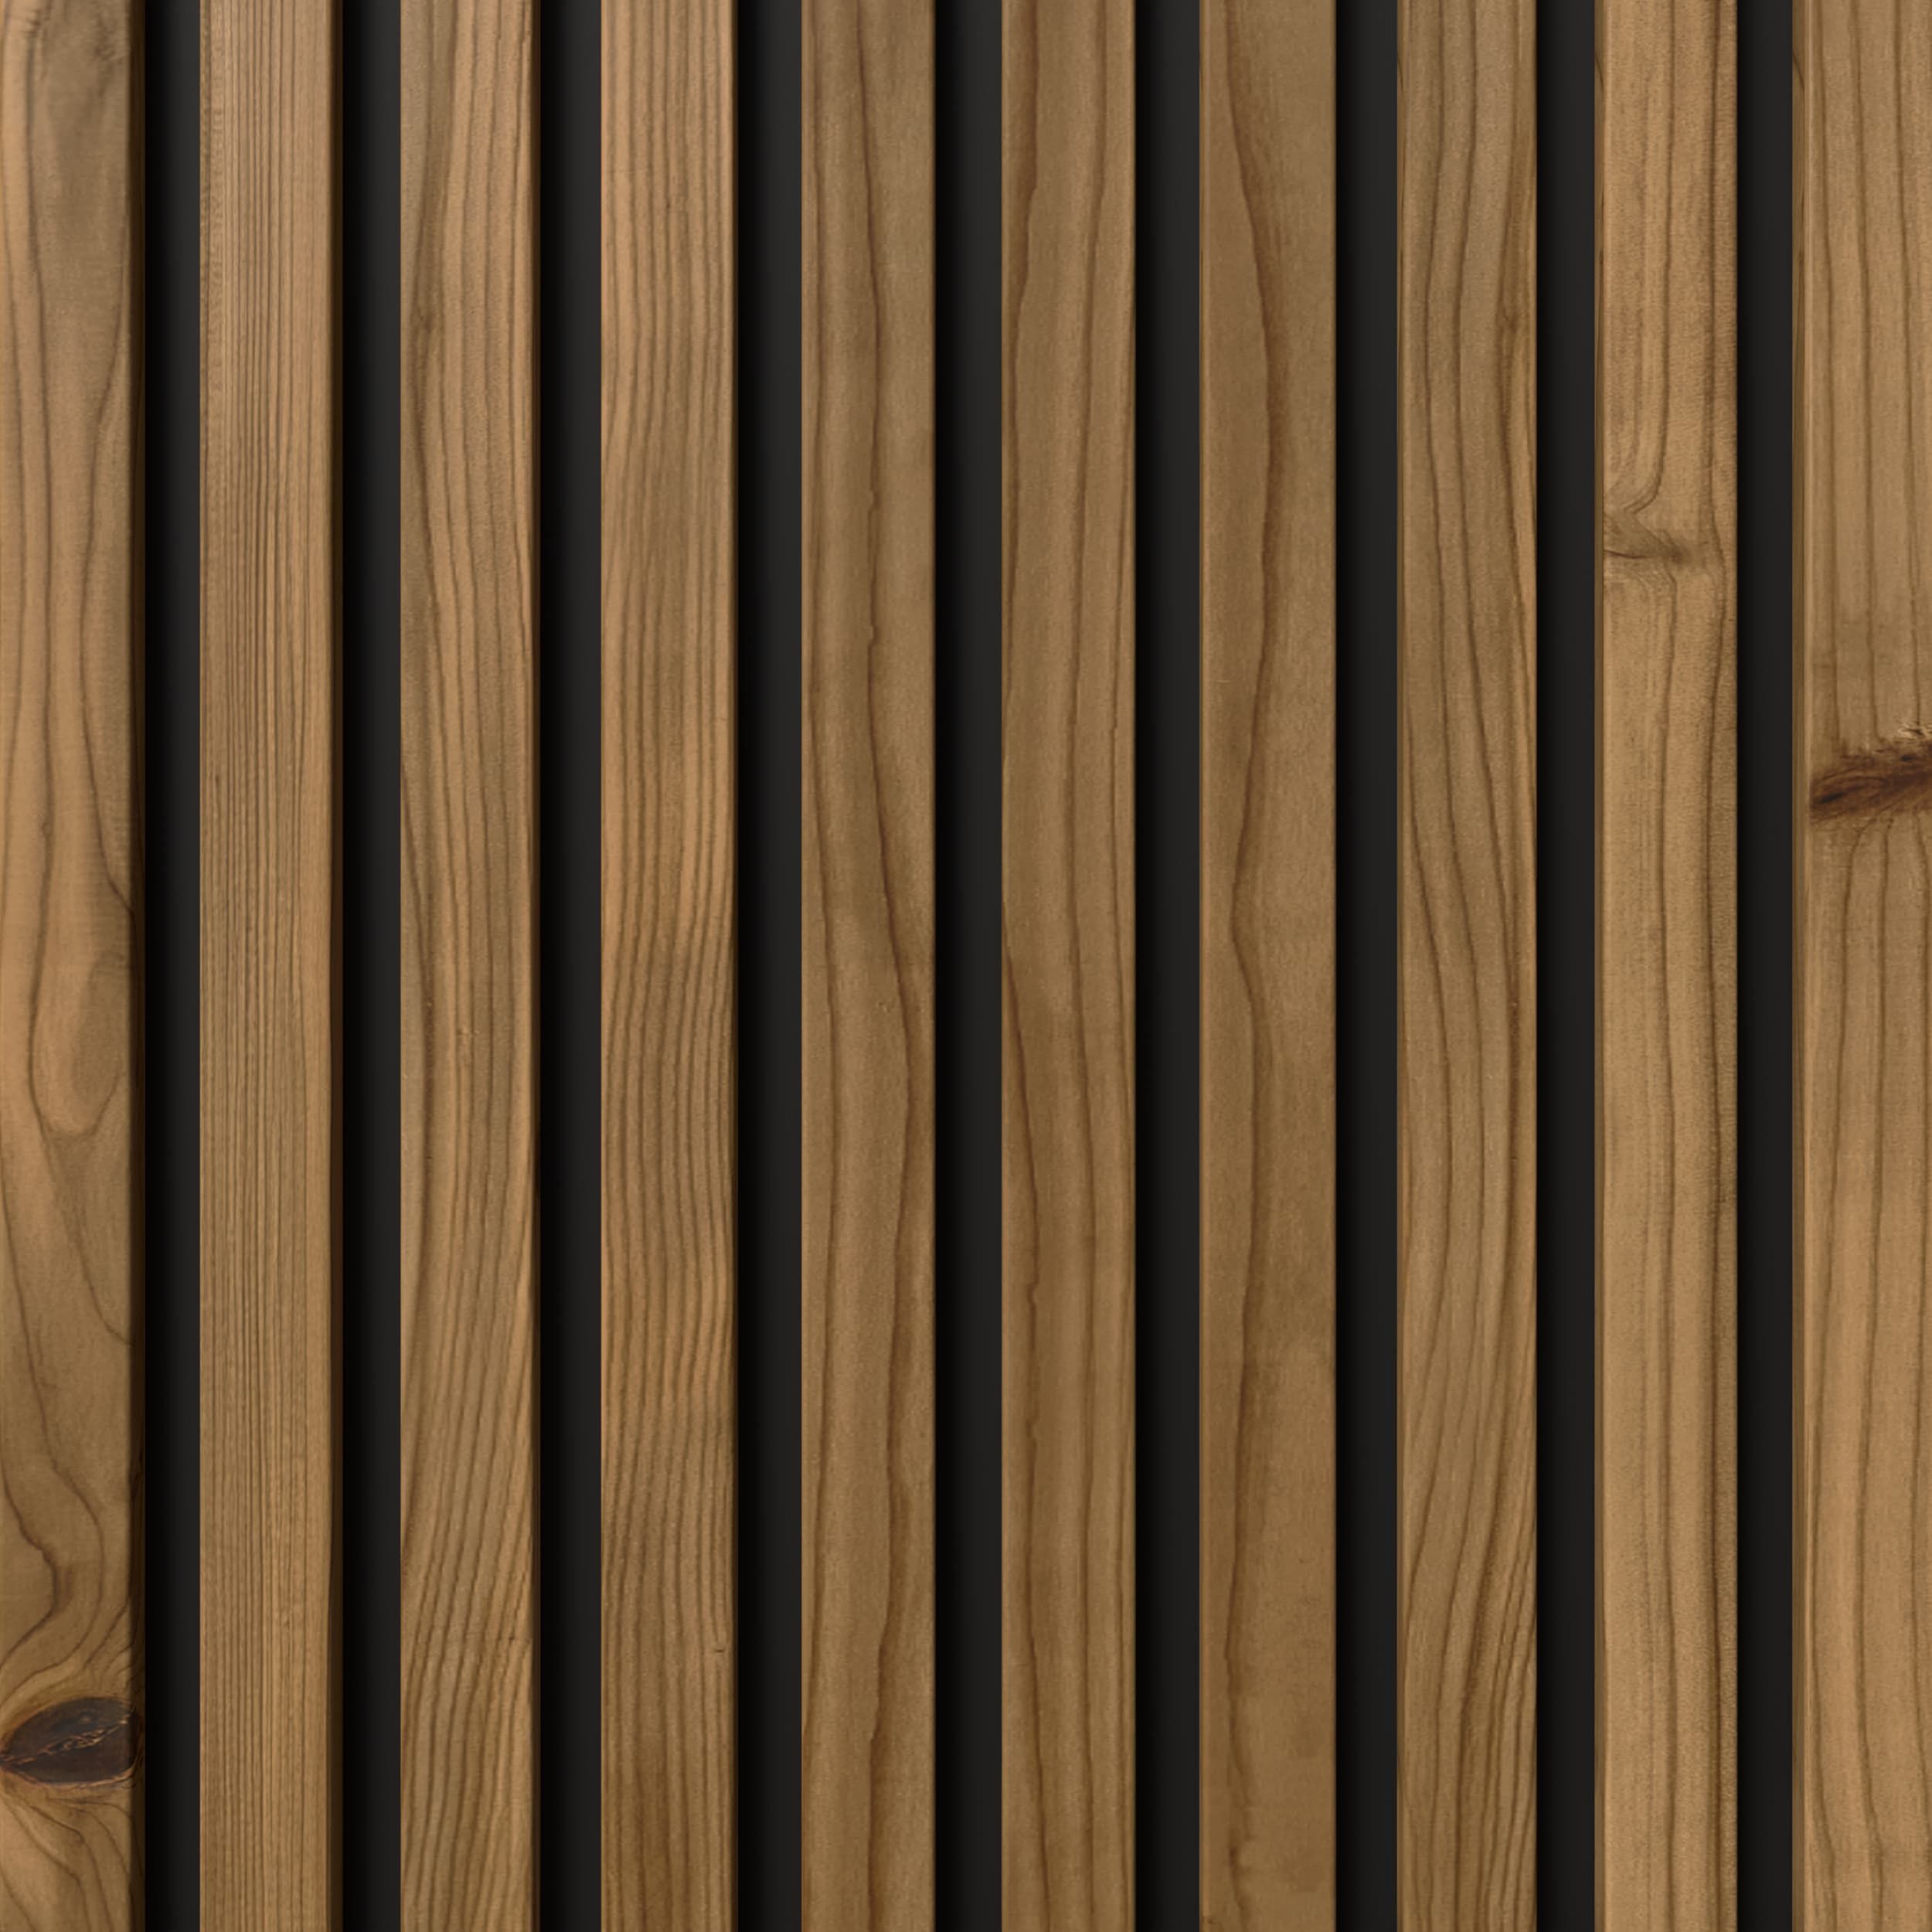
Nordic Outdoor Design Panels are developed for covered outdoor areas such as terraces, carports, and balconies. They combine aesthetics and functionality and are made from durable ThermoWood slats mounted on moisture-resistant felt. Design Panels create a harmonious and uniform look, adding depth and warmth to your covered outdoor spaces.
Why choose Nordic Outdoor Design Panels?
- Ideal for covered outdoor areas – create an exclusive look
- Time-saving solution
- Easy installation with no need for special tools
Installation guide
Step-by-step installation
Preparation: Ensure a flat and stable wall. Install a windproof membrane if necessary. Read the installation guide included in the packaging.
Installing the battens: Use suitable wooden battens with correct spacing. Use a minimum of 15 Nordic Outdoor PRO facade screws per panel (Ø4.0 x 30 mm). Panels should be mounted with the felt-covered side facing the battens.
Fastening the panels: Mount the panels using Nordic Outdoor PRO facade screws.
Adjusting the panel: If you need to adjust the width or length of the panels, we recommend using a jigsaw or circular saw for cutting.
Nordic Outdoor
FLEX Panel
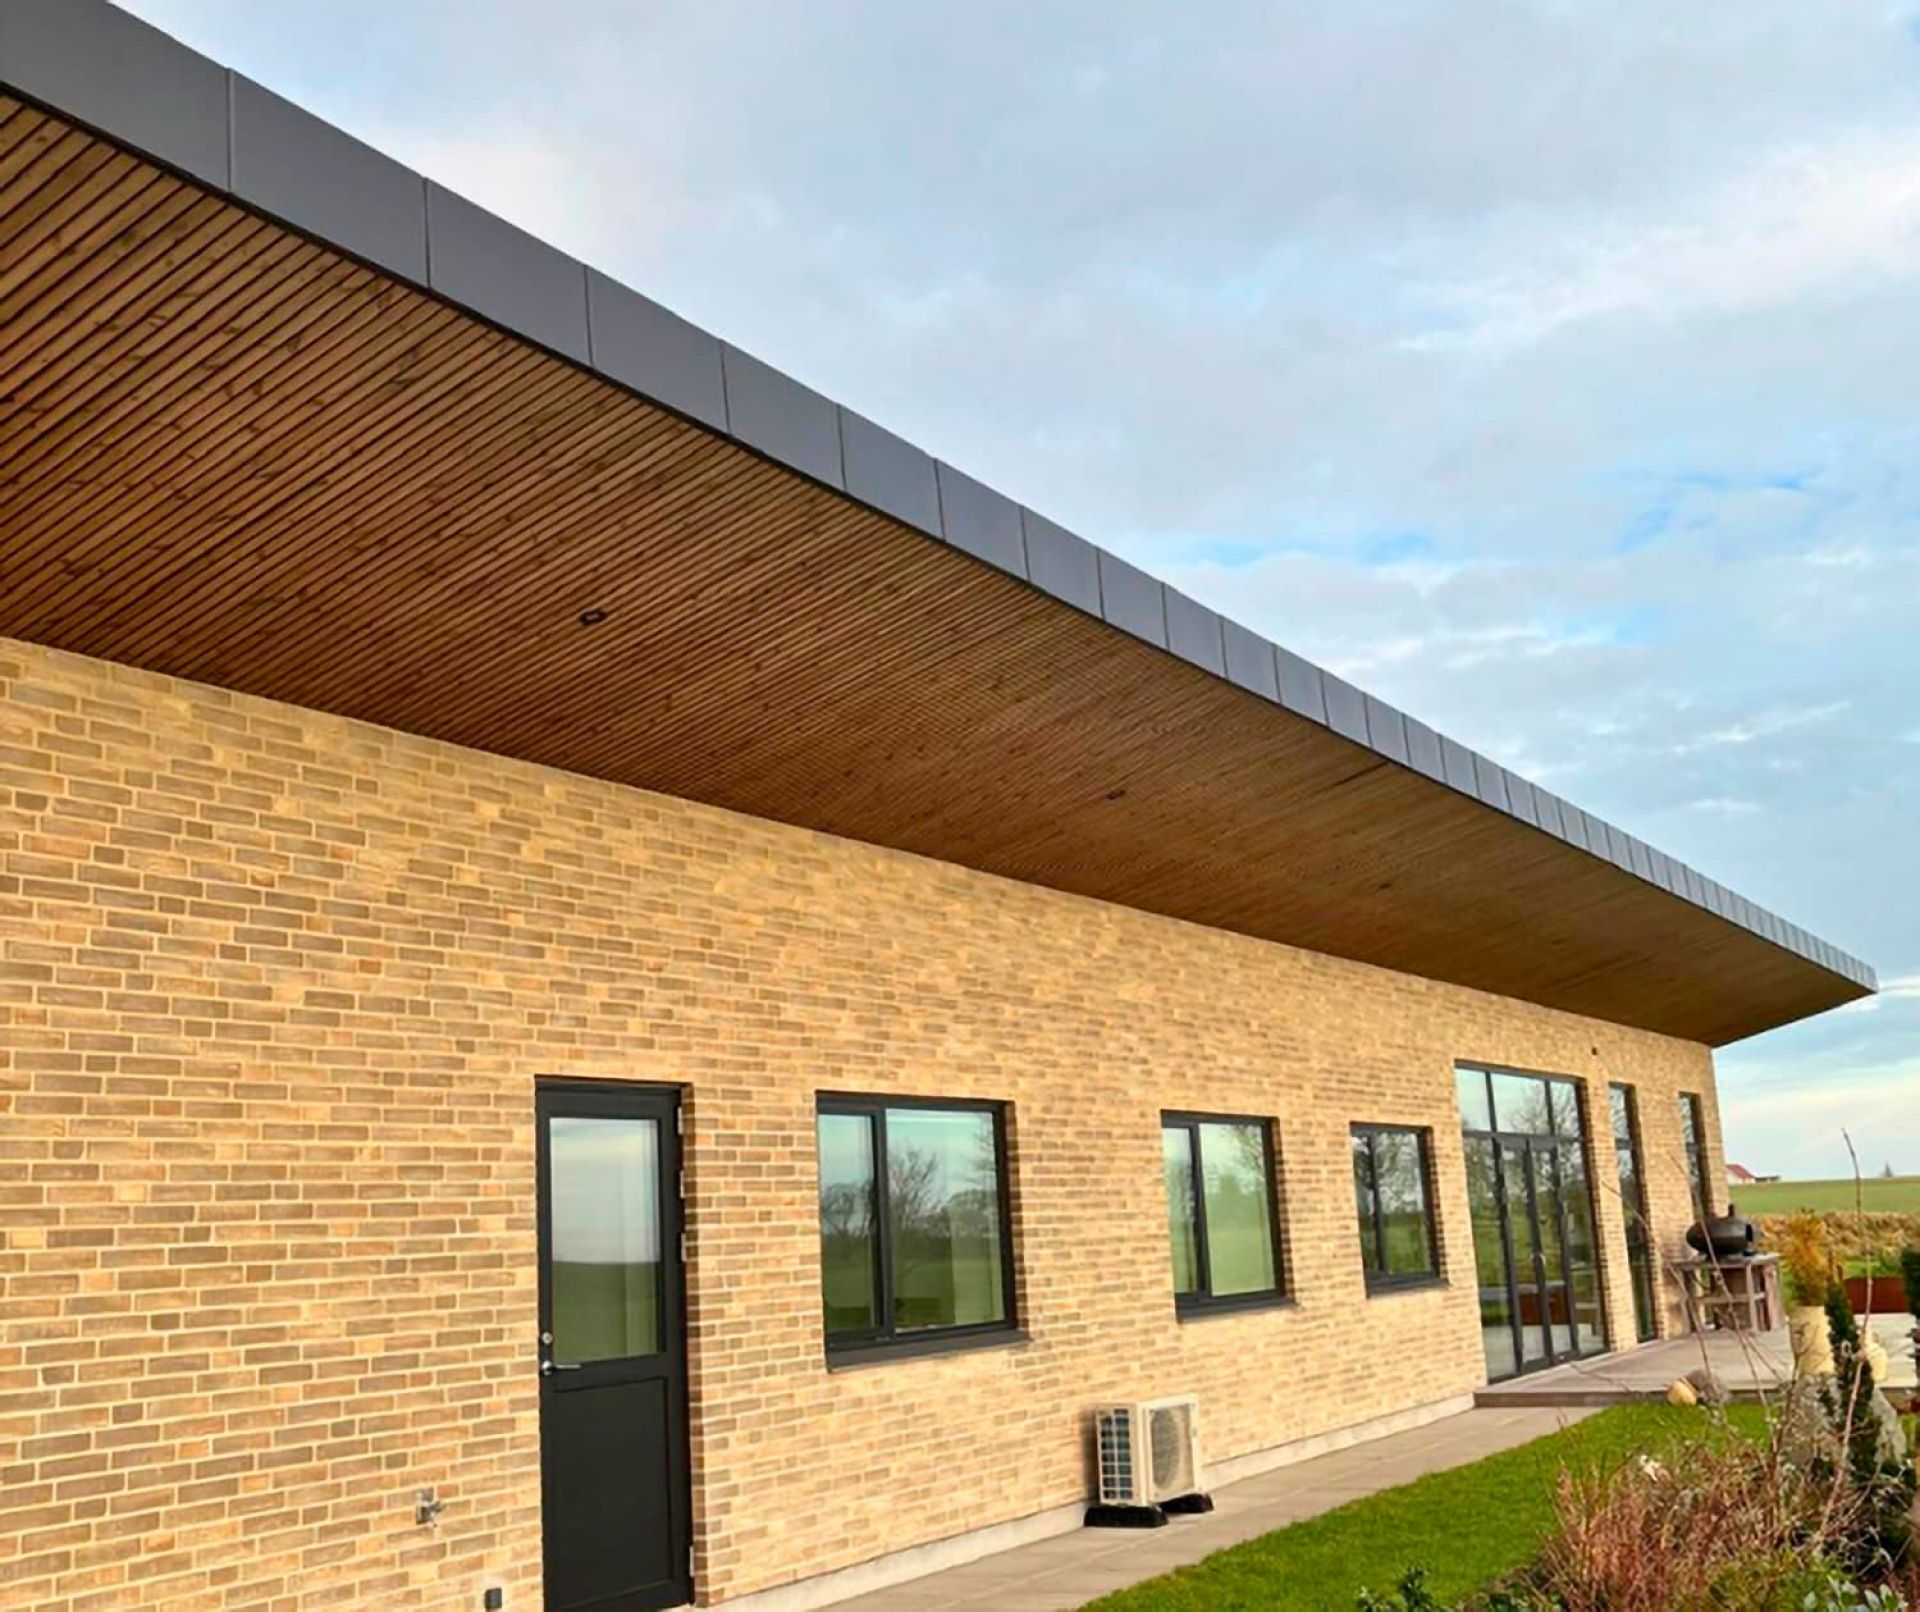
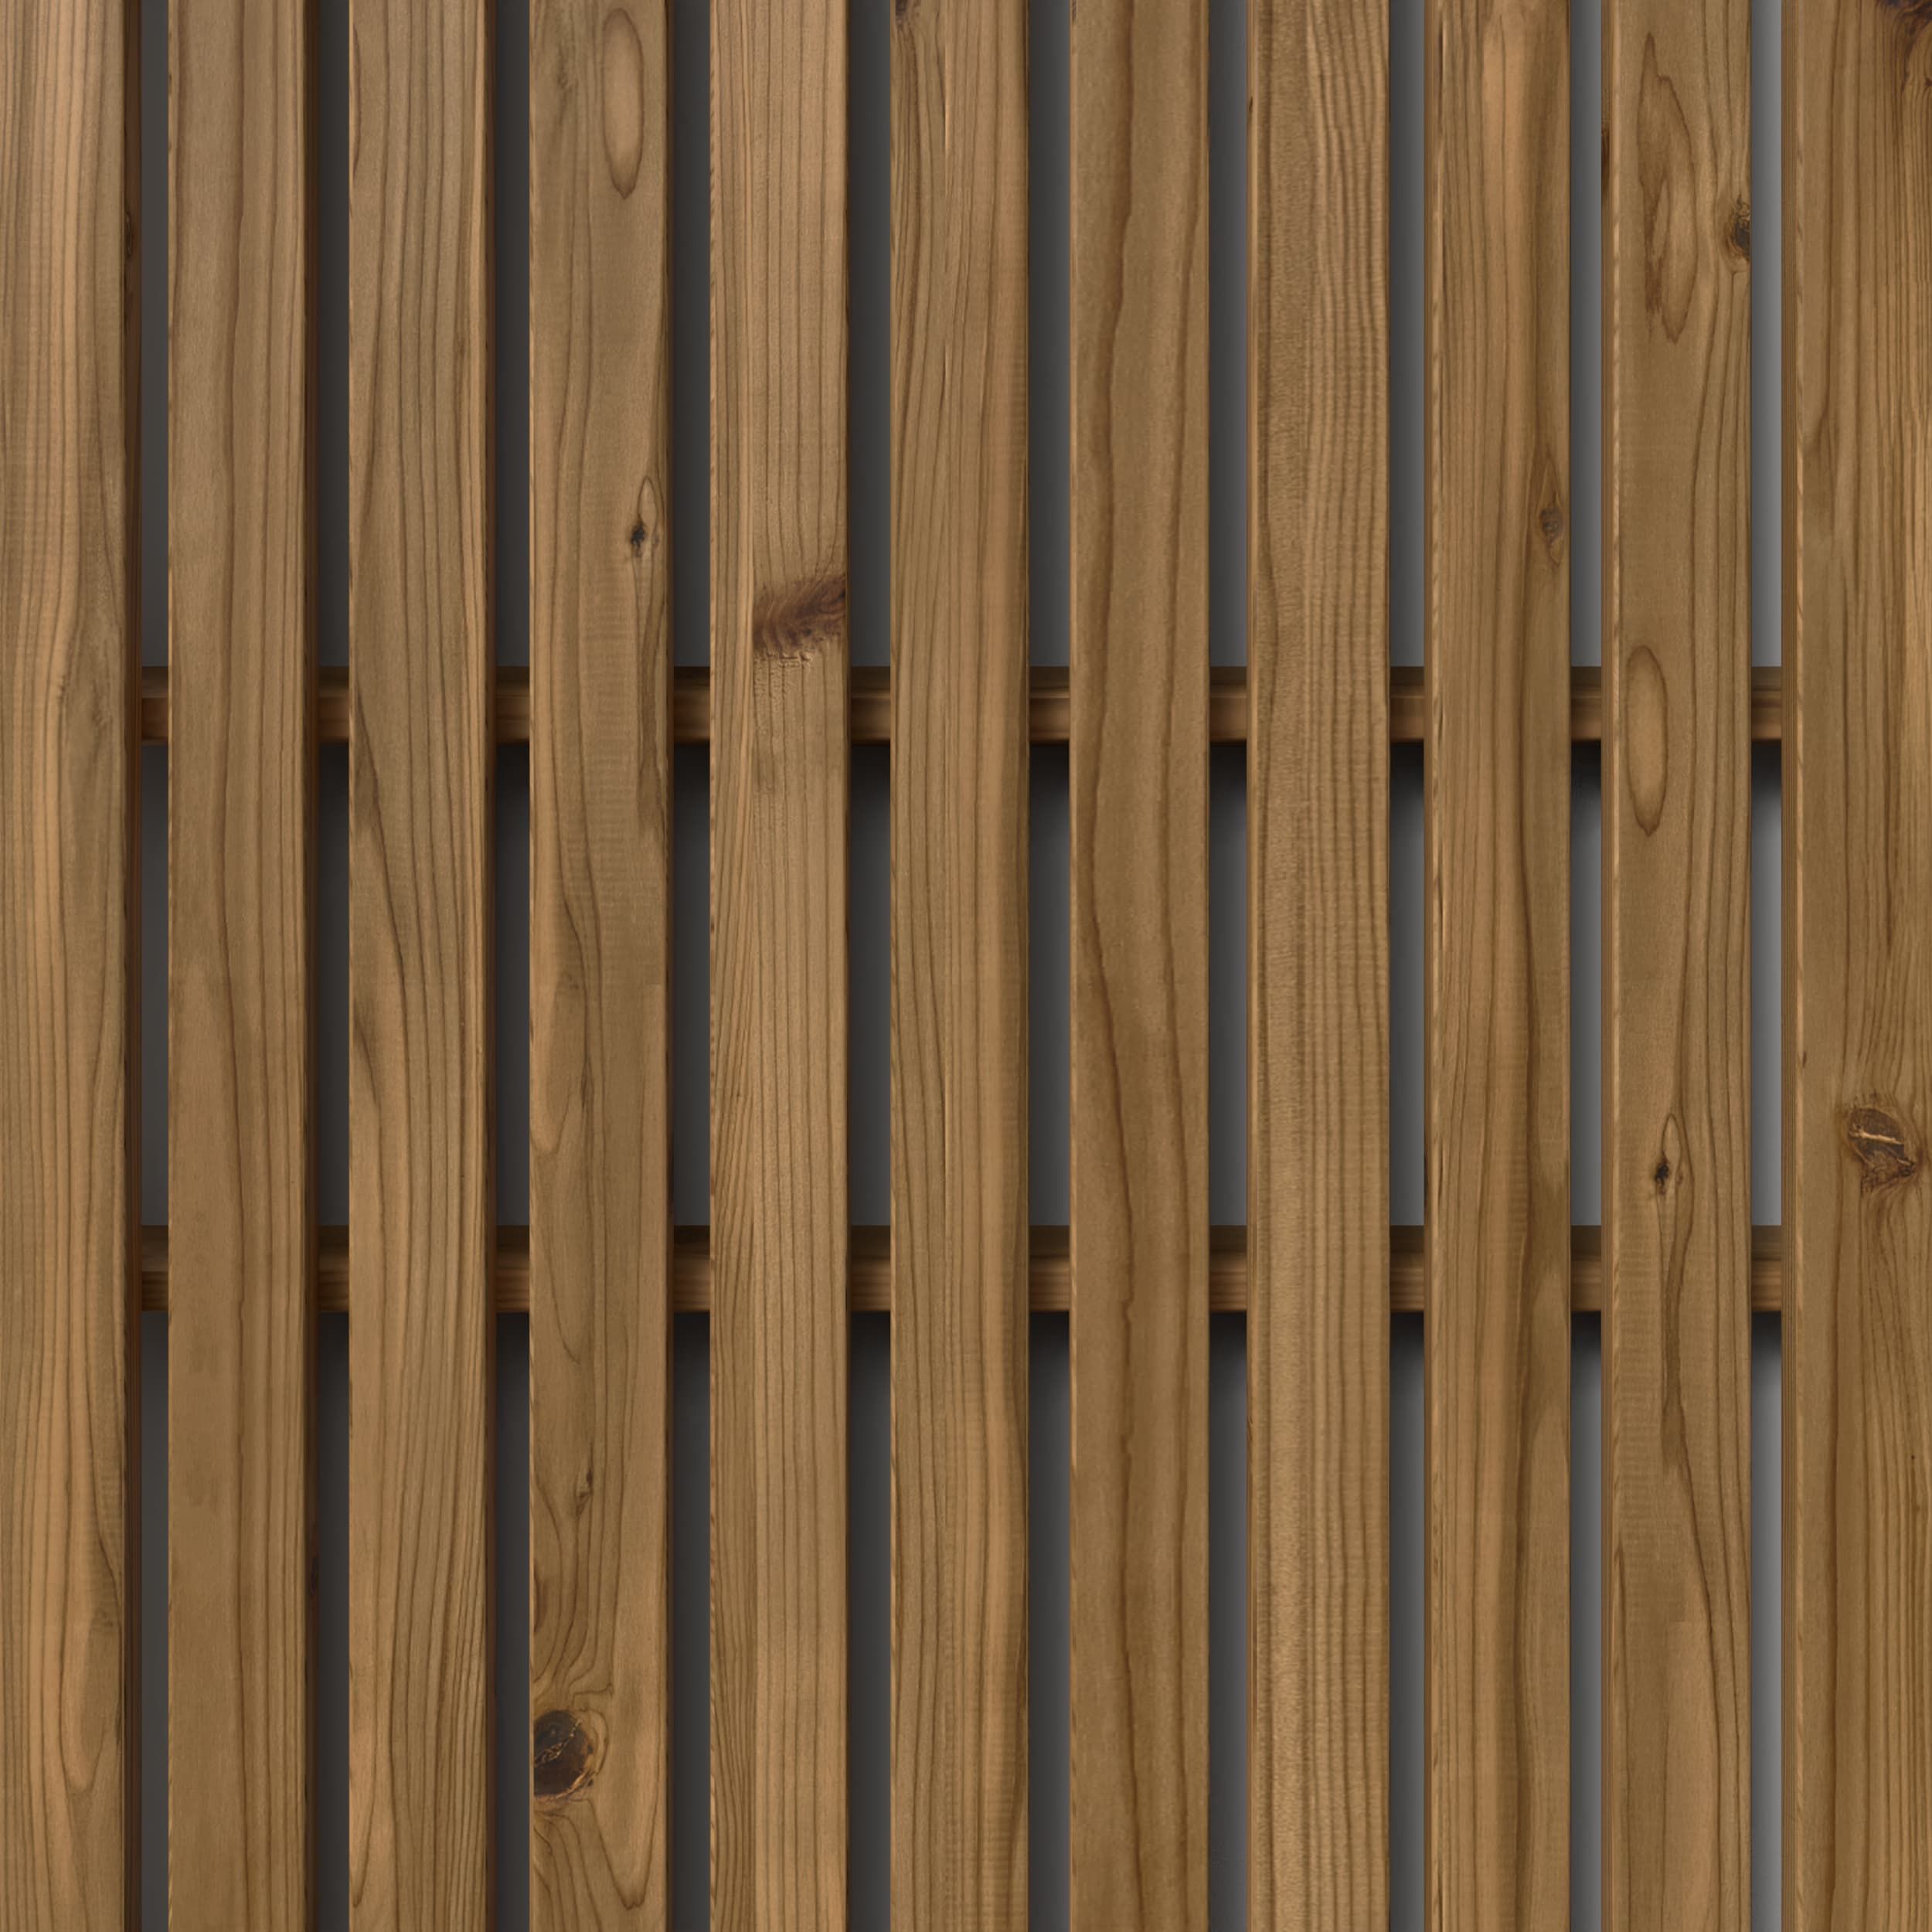
Nordic Outdoor FLEX Panels are a robust and aesthetic cladding solution, designed for fast and precise installation. The panel consists of ThermoWood slats mounted on a backing of the same material – this backing is a visible and integrated part of the design. It creates a harmonious and uniform appearance between the slats and adds depth and warmth to the façade.
Why choose Nordic Outdoor FLEX Panels?
- Visible backing behind the panel
- Save time: Quick installation and flexible adjustment
- Resistant to moisture, mould, and temperature fluctuations
Installation guide
Step-by-step installation
Preparation: Ensure that surrounding building components are properly constructed and provide adequate protection and support for the cladding. Ensure water drainage, ventilation, and allowance for structural movement. The cladding must not be in direct contact with the ground (minimum 200 mm clearance from terrain).
Fastening the panels: Use either ring-shank nails or Nordic Outdoor FLEX facade screws. Pre-drilling is recommended at the ends of the profiles to prevent splitting.
Mounting the panels: Start from the bottom and work upwards. Continuously check vertical and horizontal alignment.
Adjusting the panels: Use a jigsaw or circular saw for precise cutting.
Nordic Outdoor
PRO Panels
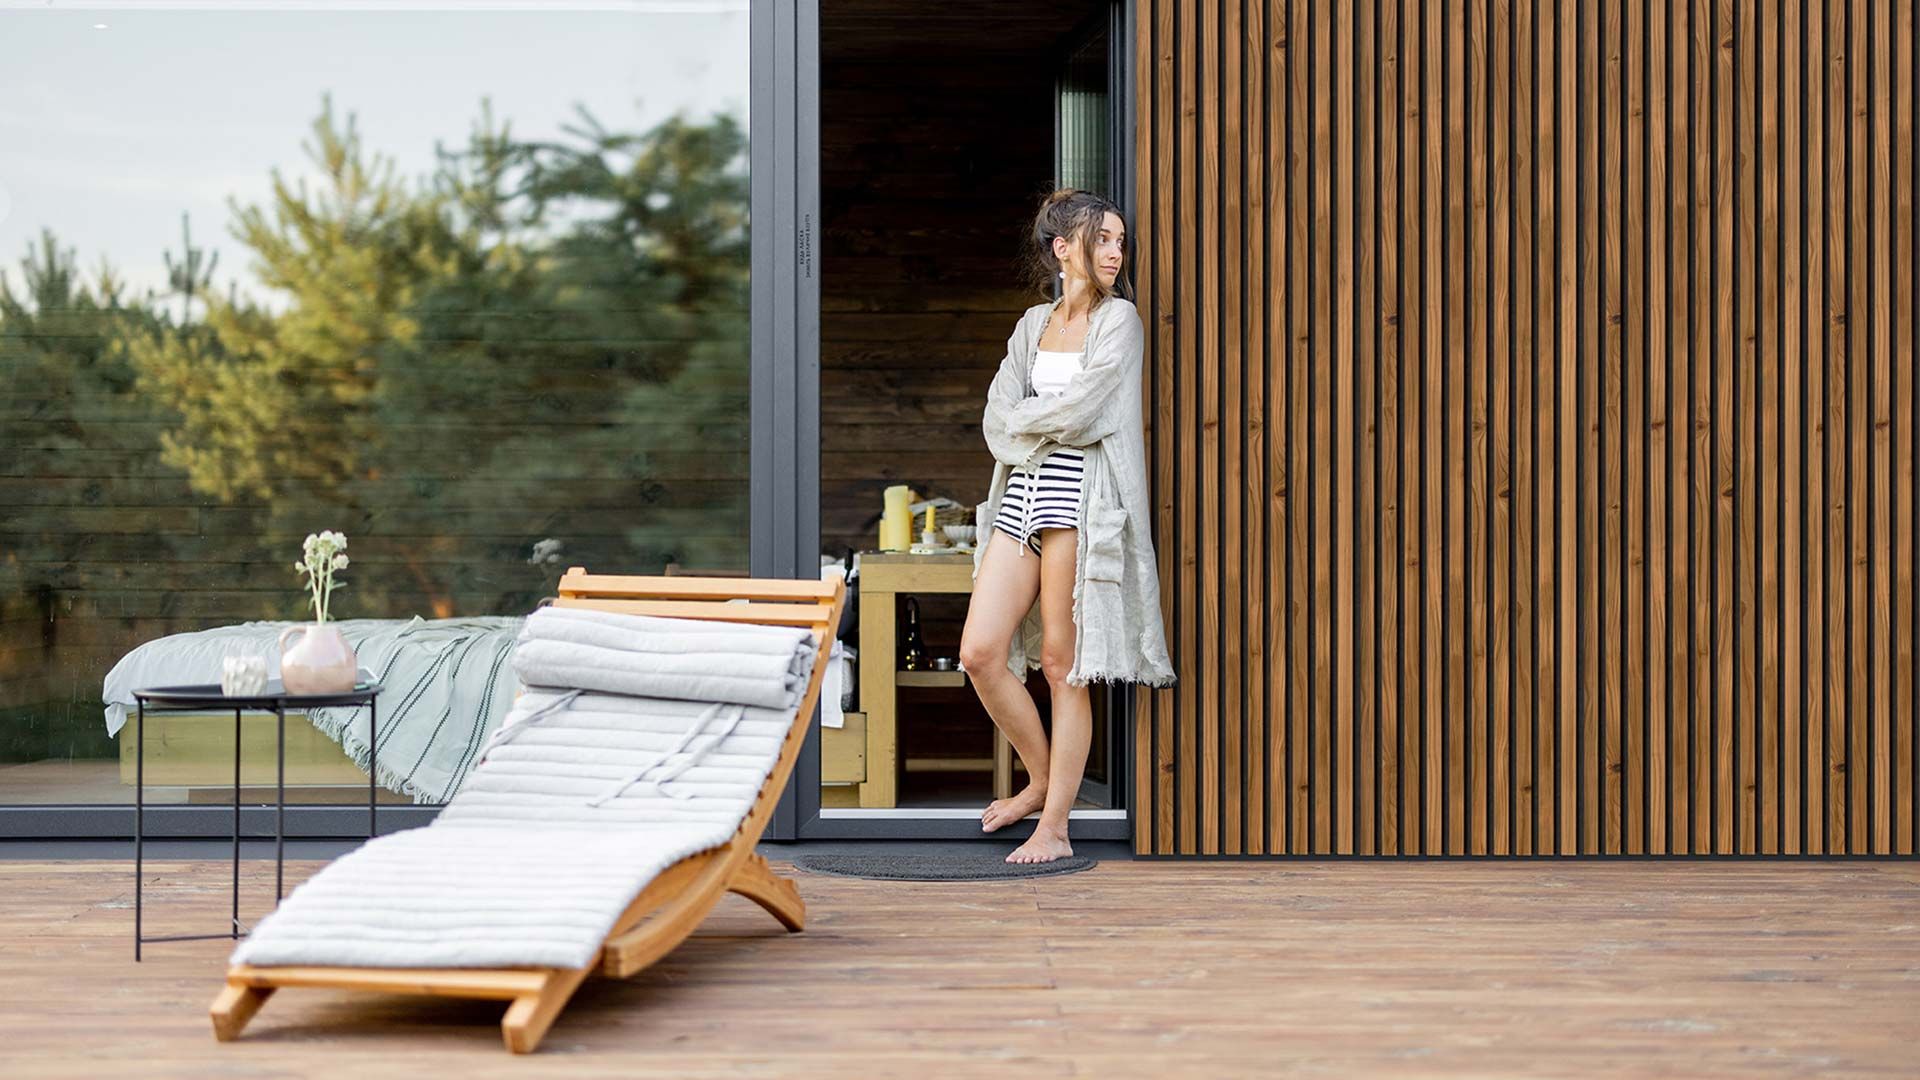
Nordic Outdoor PRO Panels are a weather-resistant and aesthetic façade solution. The panel is made of stone wool boards and exclusive ThermoWood slats, ensuring long durability, minimal maintenance, and resistance to moisture and temperature fluctuations.
Why choose Nordic Outdoor PRO Panels?
- Unique construction with stone wool boards and ThermoWood slats
- Durable and weather-resistant façade with minimal maintenance
- Easy installation with no need for special tools
Installation guide
Step-by-step installation
Preparation: Clean and prepare the surface. Read the installation guide included in the packaging. Install a wind barrier if necessary.
Mounting battens: Install battens with a maximum spacing of C/C 300 mm. Ensure proper ventilation.
Fastening panels: Mount the panels using facade screws, with at least 10 screws per m².
Finishing: Check that all panels are correctly aligned. Install insect netting at the top and bottom if needed.


