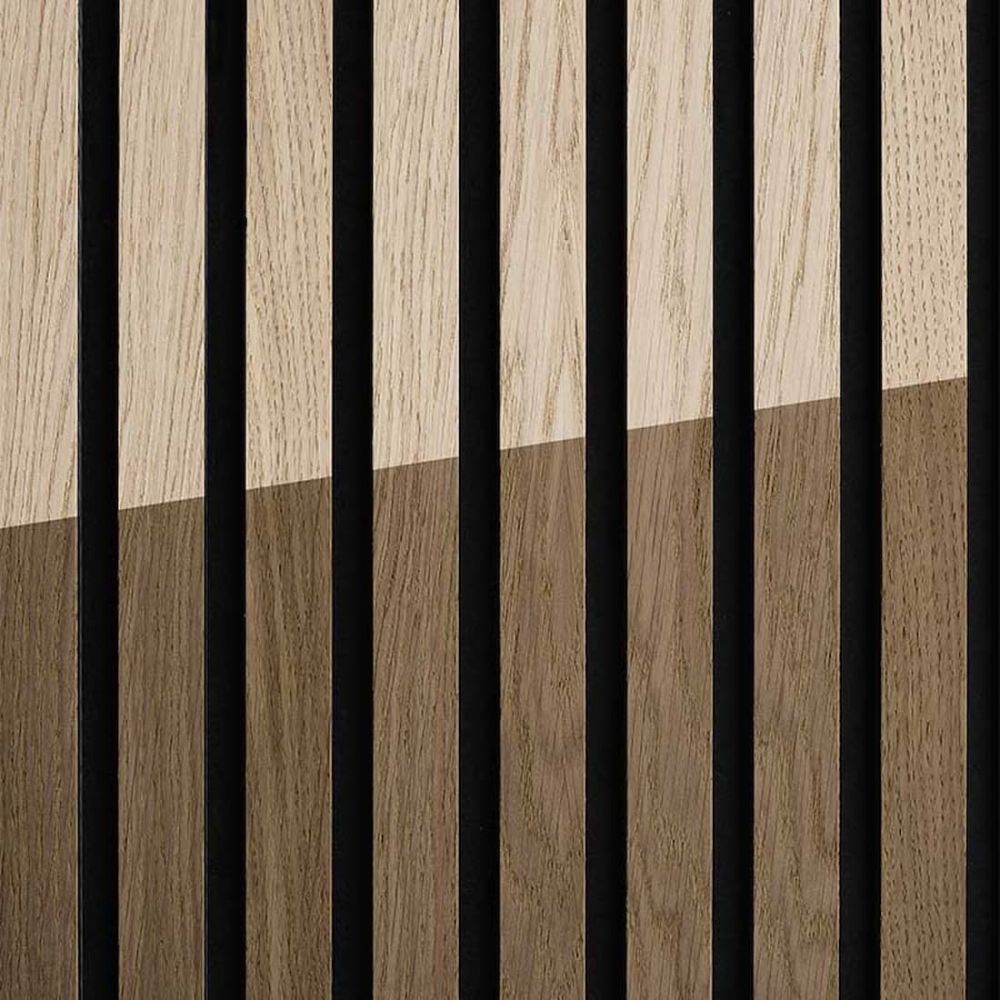
How to oil an acoustic panel
Oiling acoustic panels is an effective way to protect the surface and enhance the natural character of the wood. With the right oil treatment, the panels gain a beautiful glow and a surface that is easier to maintain. It’s an ideal solution if you want a more personal touch or aim to extend the lifespan of the panels in both private and commercial spaces.
Benefits:- Enhances the wood’s color and grain
- Provides a more durable surface
- Makes the panels easier to clean and maintain
Video guide
Guide
Would you like to give your acoustic panels a warmer appearance while protecting the surface? Oiling is a simple and effective solution.
It enhances the natural grain of the wood and provides a durable finish that is easy to maintain.
Follow the guide below to achieve a beautiful and long-lasting result – whether you’re working with new or older panels.
What you’ll need:
- Maintenance oil
- Paint roller
- Cloth or an old piece of fabric
- Tray for oil/paint
- Disposable gloves
Step 1
Prepare the oil
Shake the oil thoroughly to evenly distribute pigments and binder.
Then pour it into a paint tray.
Step 2
Prepare the roller
Saturate the paint roller with oil, and roll off any excess in the tray if necessary.
This prevents the oil from dripping or penetrating too deeply.
Step 3
Apply the oil
Roll the oil onto the slats in an even layer – following the grain of the wood.
Avoid getting oil on the edges or the back of the panel.
Step 4
Remove excess oil
Use a lint-free cloth to gently wipe off any excess oil from the surface,
ensuring an even finish without shiny spots.
Step 5
Let the panel dry
Let the panel dry for 8–12 hours before mounting or using it.


