Installation
How to mount an acoustic panel
We produce acoustic panels in prefabricated modules, which makes it easy to mount them on both walls and ceilings.
The simple installation makes BY VENØ panels a perfect DIY project!

Quick guide:
DIRECTLY ON WALL:
Assembly glue: Apply the glue to the panel and set it against the wall. Make sure to press it firmly. Screws: Screw the panel through the felt and into the wall. We recommend using 15 screws per. panel as illustrated in the drawing to the right. Remember to use rawlplugs if your wall type requires it.
ON A SHELL:
For optimal sound absorption, set up a formwork with 45 mm studs on your wall. We recommend a distance of 600 mm between your studs. Insert mineral wool between the studs. Screw the panel onto the formwork through the felt.
CUTTING PANELS:
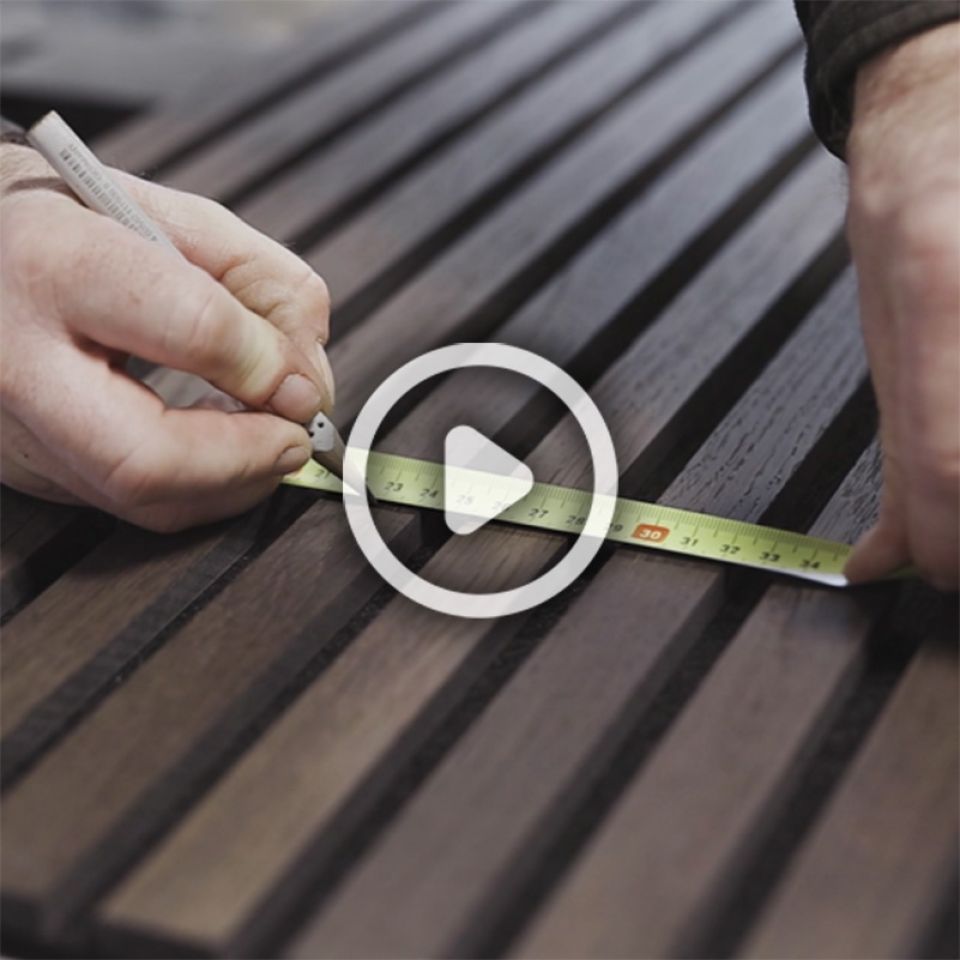
If you need to adjust your panels in length or width, you can easily cut them to size. When adjusting the length of the panel, we recommend a sharp saw (for example a plunge saw) to cut through both slats and felt. When adjusting the width of the panel, you can use a hobby knife to cut through the felt.
How to apply care oil to your panels
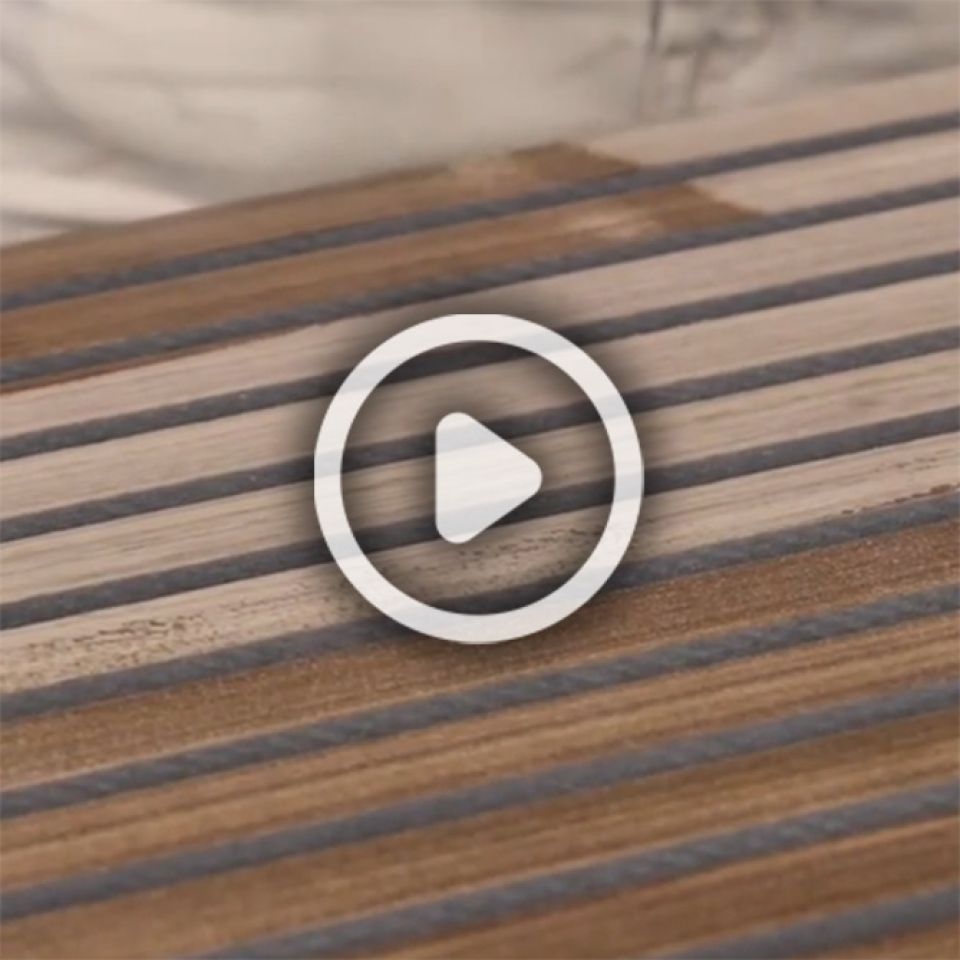
If you want to give your BY VENØ panels a different look than the untreated wood surface, we suggest you try our oil treatments.
You have the freedom to select the oil that perfectly complements the aesthetics of your home or workplace. Our Care Oil comes in a diverse palette of five exquisite shades: black, grey, antique, natural, and white.

Quick guide:
What you need:
- BY VENØ maintenance oil
- Roller
- Cloth or an old piece of fabric
- Paint tray
- Disposable golves
Steps:
- Shake the maintenance oil well, and pour into the paint tray
- Saturate the pait roller with oil
- Remove any excess oil from the roller to the prevent runs and sags
- Gently apply the oil by working along the grain
- Avoid getting oil on the edges of the panel
- When the panel is evenly oiled, remove any excess oil with a cloth
- Let dry for 8-12 hours before mounting your acoustic panel


